Django templates help you manage your web application’s HTML. Templates use a mini-language with variables, tags, and filters. You can conditionally include blocks, create loops, and modify variables before they’re shown. Django comes with many built-in tags and filters, but what if they’re not enough? In that case, write your own! This tutorial covers the ins and outs of writing your own Django template custom tags and filters.
In this tutorial, you’ll learn how to:
- Write and register a function as a custom filter
- Understand how autoescaping works in custom tags and filters
- Use
@simple_tagto write a custom template tag - Use
@inclusion_tagto render a tag based on a subtemplate - Write a complex template tag with a parser and renderer
By the end of the tutorial, you’ll be able to write custom filters to modify data in your templates and custom tags that give you access to the full power of Python within your templates.
Free Bonus: Click here to get access to a free Django Learning Resources Guide (PDF) that shows you tips and tricks as well as common pitfalls to avoid when building Python + Django web applications.
Getting Started
To play around with your own Django template custom tags and filters, you’re going to need a Django project. You’ll build dinosoar, a small website with all sorts of dinosaur info. Although the name implies that you’ll only include flying dinos, that’s just for marketing spin. All your favorite heavyweights will be there as well.
If you’ve never set up a Django project before or if you need a refresher, you may want to read Get Started With Django Part 1: Build a Portfolio App first.
Django is a third-party library, so it should be installed in a virtual environment. If you’re new to virtual environments, check out Python Virtual Environments: A Primer. Create and activate a new virtual environment for yourself and then run the following commands:
 1$ python -m pip install django==3.2.5
 2$ django-admin startproject dinosoar
 3$ cd dinosoar
 4$ python manage.py startapp dinofacts
 5$ python manage.py migrate
These commands perform the following actions:
- Line 1 runs the
pipcommand to install Django. - Line 2 creates your new Django project.
- Line 3 changes the current working directory to the
dinosoarproject. - Line 4 uses the
manage.pycommand to create a Django app calleddinofacts, where your main view will live. - Line 5 migrates any database changes. Even if you aren’t creating models, this line is necessary because the Django admin is active by default.
With the project created, it’s time to make some configuration changes and write a quick view to help you test your custom tags and filters.
Setting Up a Django Project
You need to make some changes to your project’s settings to make Django aware of your newly created app and to configure your templates. Edit dinosoar/dinosoar/settings.py and add dinofacts to the INSTALLED_APPS list:
34# dinosoar/dinosoar/settings.py
35
36INSTALLED_APPS = [
37    "django.contrib.admin",
38    "django.contrib.auth",
39    "django.contrib.contenttypes",
40    "django.contrib.sessions",
41    "django.contrib.messages",
42    "django.contrib.staticfiles",
43    "dinofacts",
44]
Within the same file, you’ll need to update the DIR value in the TEMPLATES attribute. This tells Django where to look for your template files:
57# dinosoar/dinosoar/settings.py
58
59TEMPLATES = [
60    {
61        "BACKEND": "django.template.backends.django.DjangoTemplates",
62        "DIRS": [
63            BASE_DIR / "templates",
64        ],
65        "APP_DIRS": True,
66        "OPTIONS": {
67            "context_processors": [
68                "django.template.context_processors.debug",
69                "django.template.context_processors.request",
70                "django.contrib.auth.context_processors.auth",
71                "django.contrib.messages.context_processors.messages",
72            ],
73        },
Starting with Django 3.1, the BASE_DIR value that specifies where the project lives is a pathlib object. The change to the DIRS value above tells Django to look in a templates/ subdirectory within your project directory.
Note: If you use Django 3.0 or earlier, you’ll set BASE_DIR using the os.path module. In that case, use os.path.join() to specify the path.
With the settings changed, don’t forget to create the templates/ directory within your project:
$ pwd
/home/realpython/dinosoar
$ mkdir templates
It’s time to start writing some code. To test your custom template tags and filters, you’ll need a view. Edit dinosoar/dinofacts/views.py as follows:
 1# dinosoar/dinofacts/views.py
 2
 3from datetime import datetime
 4from django.shortcuts import render
 5
 6def show_dino(request, name):
 7    data = {
 8        "dinosaurs": [
 9            "Tyrannosaurus",
10            "Stegosaurus",
11            "Raptor",
12            "Triceratops",
13        ],
14        "now": datetime.now(),
15    }
16
17    return render(request, name + ".html", data)
Lines 7 to 15 create a dictionary with some sample data. You’ll use this in your templates to test your tags and filters. The rest of this view does something a little unorthodox: it takes a parameter that specifies the name of a template.
The render() function loads and renders a template. Here, the name value gets suffixed with ".html", turning it into the name of a template to load. This is not something you’d normally do, but the rest of this article shows you a lot of templates. Rather than having to write a new view for each experiment, this single view will accomplish the task.
The last step before writing a template is to register your view as a URL. Edit dinosoar/dinosoar/urls.py so that it looks like this:
 1# dinosoar/dinosoar/urls.py
 2
 3from django.urls import path
 4
 5from dinofacts.views import show_dino
 6
 7urlpatterns = [
 8    path("show_dino/<str:name>/", show_dino),
 9]
Line 8 registers the /show_dino/ URL with the show_dino view. This URL expects an argument called name, which will be turned into the name of the template to load inside the view.
Using Django Templates
With the view in place, you’re all set to render some HTML. The next step is to create a template. Most HTML pages are rather repetitive, containing boilerplate header information, meta-info about the page, and navigation tools. Django templates use the power of inheritance to minimize the repetition. To see this in action, create dinosoar/templates/base.html:
 1<!-- dinosoar/templates/base.html -->
 2
 3<html>
 4<body>
 5  {% block content %}
 6    <h1>Dino Soar</h1>
 7  {% endblock content %}
 8</body>
 9</html>
By defining blocks and extending parent templates, you can avoid a lot of the cookie-cutter duplication that often happens in HTML files across a site. The template above is a base for all future templates in this tutorial.
Many of the examples in this tutorial will be in their own template files. You’ll be creating each one, and each will inherit from the base file above. The first example child file you need to create is dinosoar/templates/eoraptor.html:
 1<!-- dinosoar/templates/eoraptor.html -->
 2
 3{% extends "base.html" %}
 4
 5{% block content %}
 6
 7<h1>Eoraptor</h1>
 8
 9<p>
10  Eoraptor was one of the earliest dinosaurs and its name
11  is based on the Greek word for "dawn".
12
13  {% comment %} Add something about height here {% endcomment %}
14
15</p>
16
17<p>
18  Some other popular dinosaurs were:
19
20  <ul>
21    {% for dino in dinosaurs %}
22      <li> {{dino|lower}} </li>
23    {% endfor %}
24  </ul>
25</p>
26
27{% endblock content %}
This template uses a few common built-in template tags and filters:
- Line 3 declares that this template inherits from
"base.html"by using the{% extends %}tag. - Lines 5 and 27 declare a block called
content. During the rendering ofeoraptor.html, the template engine looks for a block with the same name in its parent. The engine replaces the corresponding block inbase.html. - Line 13 uses the
{% comment %}tag to write a comment. The rendered output will not include the contents of this tag. - Lines 21 and 23 define a
{% for %}block tag. This works like aforloop in Python. It iterates over the valuedinosaursand renders the line within the block for each member. - Line 22 is rendered once for each item in the
dinosaurslist. Each value gets put inside HTML<li>tags. Note thelowerfilter used with the value. Filters get applied to a value through the pipe (|) symbol. Filters use a value and then modify the rendered result. Thelowerfilter is similar to the.lower()method in Python, rendering the value as lowercase.
Everything is in place now. Run the Django development server to see the result:
$ python manage.py runserver
To see the view, visit http://127.0.0.1:8000/show_dino/eoraptor/. Your result should look like this:
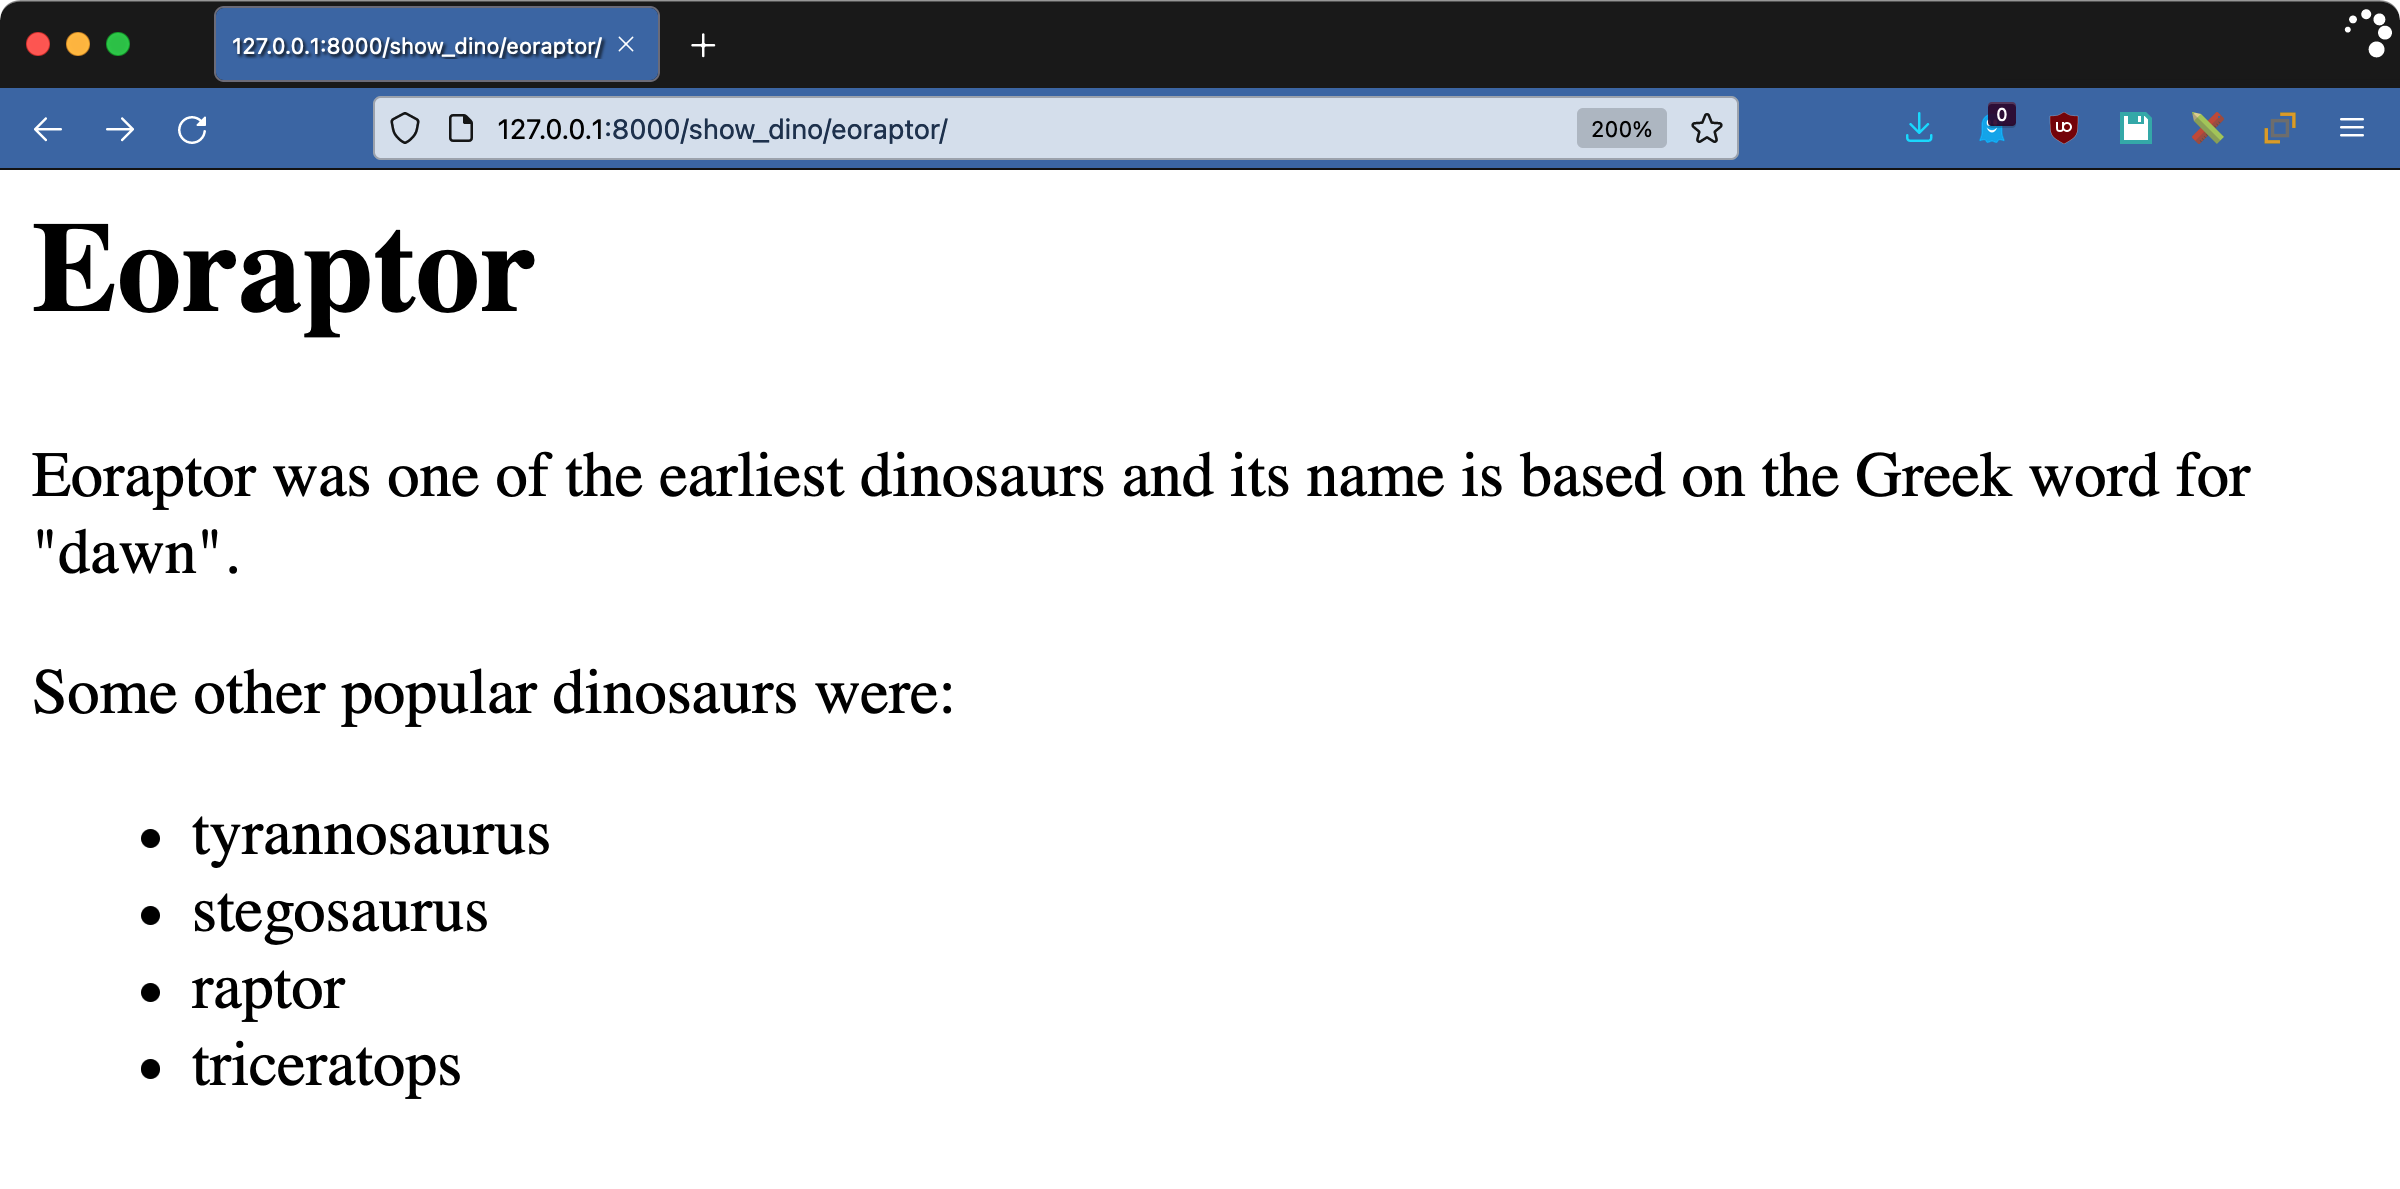
The comment has disappeared, and the list of dinosaurs is in lowercase.
You can find more information by going over the Django documentation about built-in template tags and filters or by checking out Django Templates: Built-In Tags and Filters.
Loading Modules and Third-Party Tag Libraries
There are over seventy-five tags and filters built into Django and several modules on top of that, but that still might not be enough for your use case. But before writing your own custom tags and filters, you should first do some research to see if another package meets your needs.
To use a tag or filter that comes with Django but isn’t in the standard set, you need to:
- Register the package’s Django app
- Load the template library into your template
Many third-party packages are available as well. Using a third-party package is no different, except that you’d need to install the package first using pip.
A popular package that comes with Django but isn’t part of the built-in library is humanize. This library has filters that change numeric data into more readable forms. Because it ships as part of the contrib module in Django, there’s no additional installation step.
To register the app, update your INSTALLED_APPS list in dinosoar/dinosoar/settings.py:
32# dinosoar/dinosoar/settings.py
33
34INSTALLED_APPS = [
35    "django.contrib.admin",
36    "django.contrib.auth",
37    "django.contrib.contenttypes",
38    "django.contrib.sessions",
39    "django.contrib.messages",
40    "django.contrib.staticfiles",
41    "dinofacts",
42    "django.contrib.humanize",
43]
Create a new template called dinosoar/templates/iggy.html:
 1<!-- dinosoar/templates/iggy.html -->
 2
 3{% extends "base.html" %}
 4{% load humanize %}
 5
 6{% block content %}
 7
 8<h1>Iguanodon</h1>
 9
10<p>
11  Iguanodon (iguana-tooth) were large herbivores. They weighed
12  {{3080|intcomma}}kg ({{6800|intcomma}}lbs).
13  Wow, {{3080000|intword}} grams is a lot!
14
15</p>
16
17{% endblock content %}
The key to using a tag or filter that isn’t built-in is the {% load %} tag you use on line 4. This is the equivalent of an import statement in your Python code.
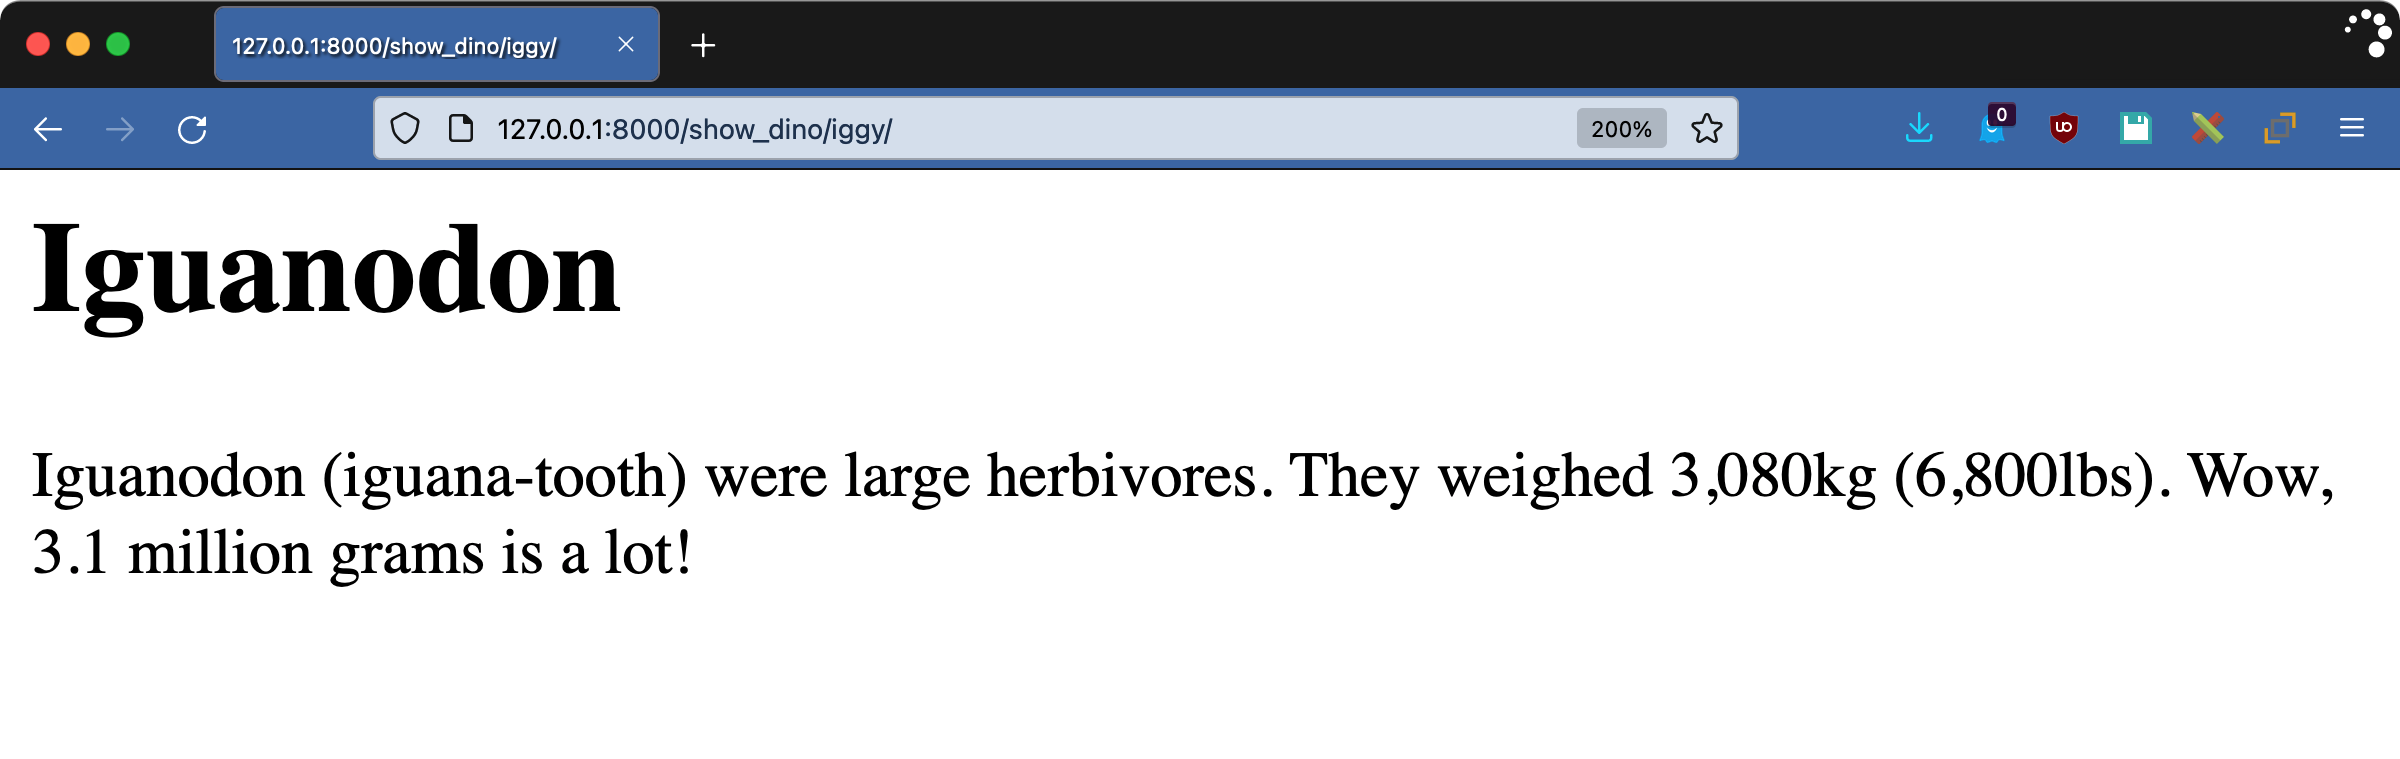
The iggy.html template uses two filters from humanize:
intcommaconverts a number into a string with a comma every three digits.intwordconverts large numbers into their English equivalent.
Visit http://127.0.0.1:8000/show_dino/iggy/ to see the result:
There are a lot of tags in Django, both built-in and included in the contrib module. There are even more third-party libraries out there. But what if you can’t find something that solves your problem? It’s time to do it yourself by writing some Django custom tags and filters.
Building Tags and Filters
Custom tags and filters live in your Django app in a templatetags/ directory. You can import any files in this directory into a template using the {% load %} tag. The name of the module you create will be the name you use to load the tag library.
For this project, the structure will look like this:
dinosoar/dinofacts/templatetags/
├── __init__.py
└── dinotags.py
This directory is a module like any other Python code, so it requires the __init__.py file. The dinotags.py file will contain all the code for your custom tags and filters.
As you’ll soon explore more, filters are functions. Tags can be either functions or classes, depending on their complexity. Just writing the functions and classes isn’t sufficient—you also need to register the code with Django.
Registration requires an instance of a Library class, which you can then use as a decorator to wrap your tags and filters. The following code is a simplified version of the built-in filter lower:
 1from django import template
 2
 3register = template.Library()
 4
 5@register.filter
 6def lower(value):
 7    return value.lower()
Think about how this example works:
- Line 1 imports Django’s
templatemodule. - Line 3 creates an instance of
Libraryused for registration. - Line 5 uses the
Libraryinstance’sfiltermethod as a decorator. This tells Django that thelower()function is a filter. - Lines 6 to 7 define the function implementing the filter. The filtered value is the first argument to the function. This implementation assumes the value is a string. The string’s
.lower()method gets called and the result returned. What you return from your filter function gets rendered in the template.
The Library object provides methods for registering tags and filters. You may call these methods directly, but the better way is to use them as decorators. Decorating the function makes it clear to other programmers that it’s registered as a tag or filter.
Writing Django Template Custom Filters
You set up your project and wrote a view to use for testing. Then, you used built-in tags and filters as well as loaded tags from a library. In the previous section, you learned how to register tags and filters. In this section, you’re all set to write your first Django custom filter!
Filters as Functions
As mentioned previously, filters are Python functions. The most basic filters take a single argument: the value to filter. The result of a filter function gets rendered by the template engine.
To get started, you’ll write a filter that renders a string composed of the first letter of each item in a list. If you haven’t already, you’ll need to set up your template tag file:
$ pwd
/home/realpython/dinosoar
$ mkdir dinofacts/templatetags
$ touch dinofacts/templatetags/__init__.py
With the structure in place, either create or edit the template tag file called dinosoar/dinofacts/templatetags/dinotags.py:
 1# dinosoar/dinofacts/templatetags/dinotags.py
 2
 3from django import template
 4
 5register = template.Library()
 6
 7@register.filter
 8def first_letters(iterable):
 9    result = ""
10    for item in iterable:
11        result += item[0]
12
13    return result
The code above registers a filter called first_letters. The function expects an iterable, like a list. It iterates over the list and builds the result string. If the value to filter is a list of strings, then result is the first letter of each of those strings.
To use this filter in action, create dinosoar/templates/raptor.html:
 1<!-- dinosoar/templates/raptor.html -->
 2
 3{% extends "base.html" %}
 4{% load dinotags %}
 5
 6{% block content %}
 7
 8<h1>Velociraptor</h1>
 9
10<p>
11  The Velociraptor (swift seizer) was made famous by their appearance
12  in the movie <i>Jurassic Park</i>. Unlike in the movie, these
13  dinosaurs were smaller, about the size of a turkey. They shared
14  something else with turkeys: they likely had feathers.
15
16</p>
17<p>
18  The first letters of our dinosaur variable are {{dinosaurs|first_letters}}.
19
20</p>
21
22{% endblock content %}
With your template in place, visit http://127.0.0.1:8000/show_dino/raptor/ to see the result:
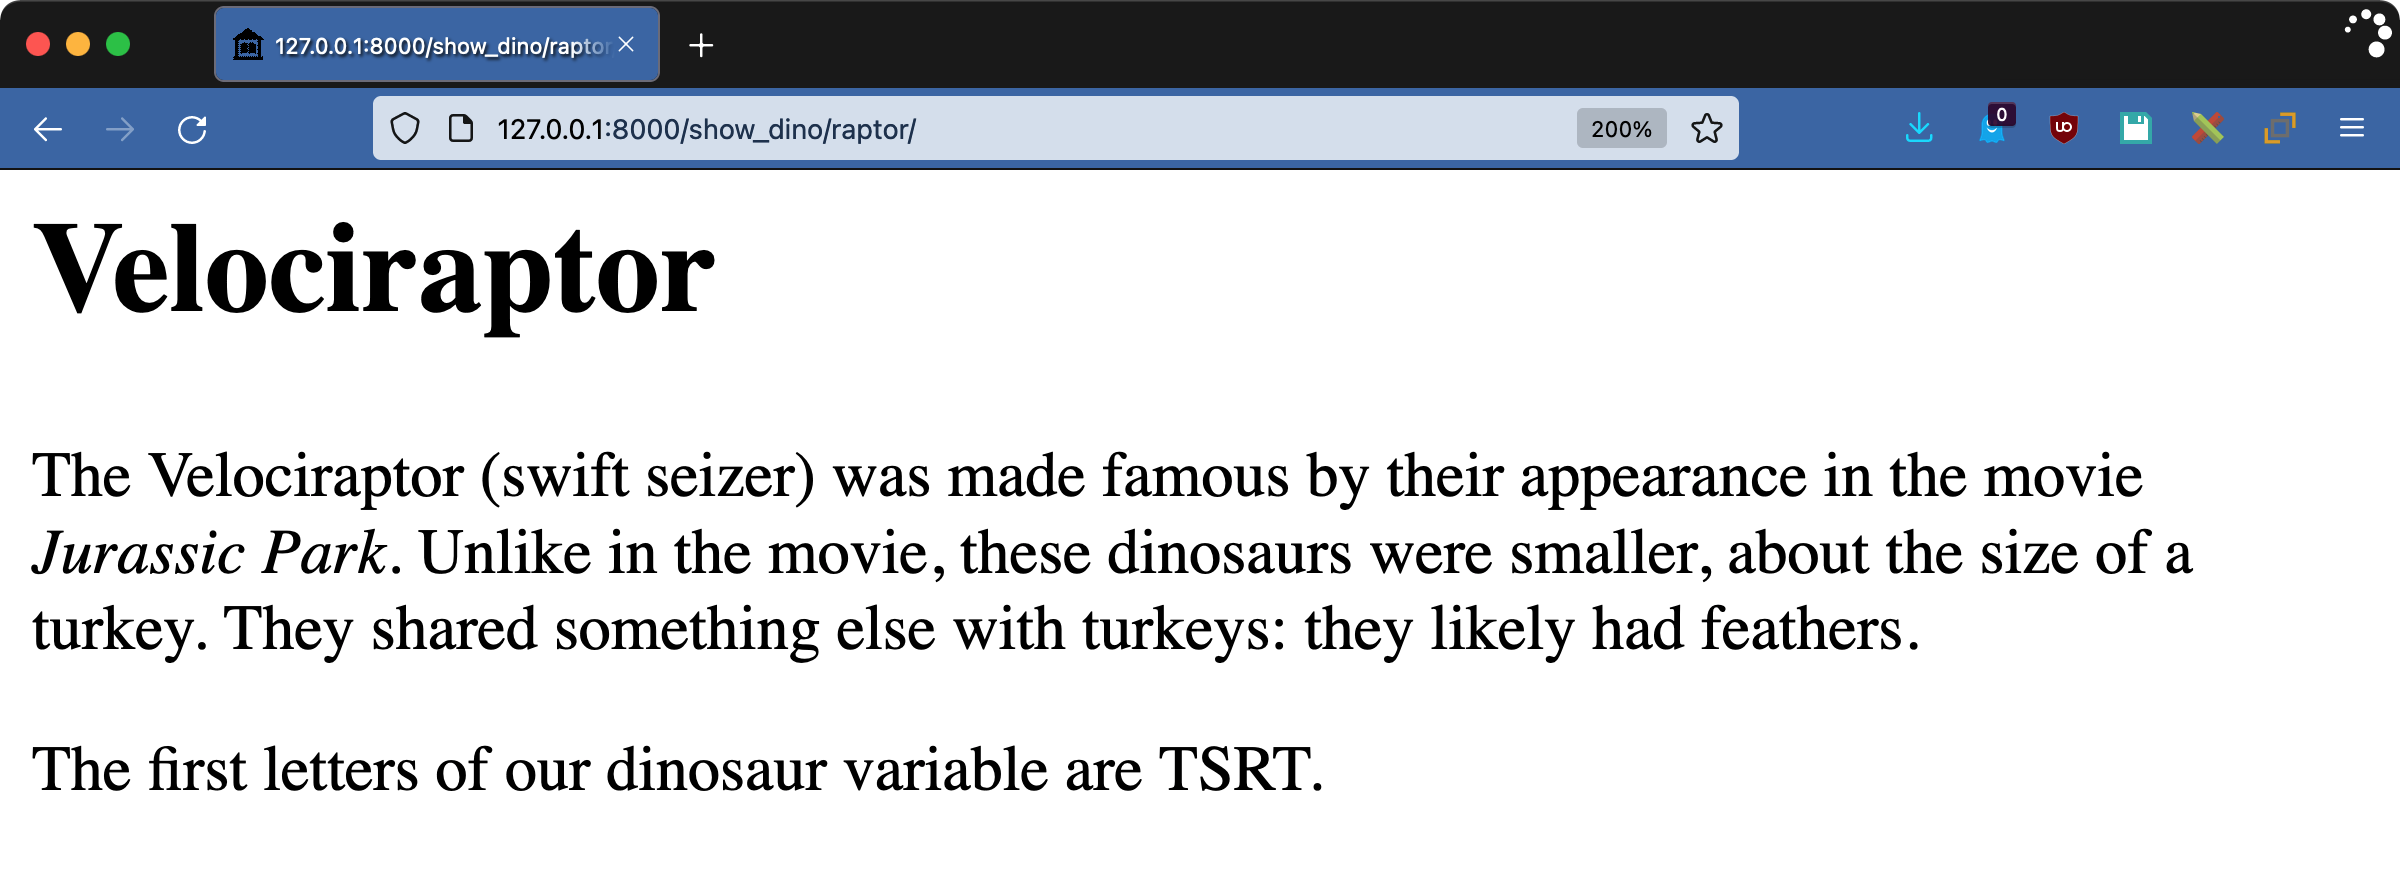
Recall from dinofacts/views.py that the dinosaurs value is a list containing "Tyrannosaurus", "Stegosaurus", "Raptor", and "Triceratops". The result above is the first letter of each of these mighty reptiles: "TSRT".
Filters can also take arguments. Now you’ll augment the power of first_letters by writing a filter that returns the n-th letter of each item in an iterable. Add this function to dinotags.py:
23# dinosoar/dinofacts/templatetags/dinotags.py
24
25@register.filter(name="nth_letters", is_safe=True)
26def other_letters(iterable, num):
27    result = ""
28    for item in iterable:
29        if len(item) <= num or not item[num - 1].isalpha():
30            result += " "
31        else:
32            result += item[num - 1]
33
34    return result
There are a few new things going on here:
- Line 25 adds the
nameargument to the@register.filter()decorator. This makes the filter’s name in the template different from the implementing function. Here, the filter gets namednth_letterseven though the function that implements it isother_letters(). Note thatis_safe=Trueindicates to Django that the output of this filter doesn’t contain characters that will break HTML. You’ll explore more about this below. - Line 26 defines the function. The value to filter is the first argument, and the filter’s parameter is the second.
- Lines 28 to 32 iterate over the value and build the resulting string.
- Line 29 is a safety check. If you’re looking for the tenth index in an eight-letter string, it’ll use a space (
" ") instead. Also, if the n-th character isn’t a letter, you use a space to avoid accidentally returning characters that break HTML. - Line 34 returns the
resultstring to be rendered.
Using strings inside of HTML safely is a deep topic. HTML consists of strings with certain characters changing how the browser displays the page. You have to be careful about what string data you pass to the rendering engine, and doubly so if the data was user input.
Django extends raw Python strings with a class called SafeString. A SafeString object has additional information in it that indicates whether the template engine should escape it before rendering.
When Django renders a template, parts of the template may be in autoescape mode. These areas automatically escape the values inside, so Django will turn any troublesome characters into the corresponding HTML entity for display. Sometimes the values you’re rendering are supposed to contain HTML, and so they need to be marked safe.
In the example above, the is_safe=True argument to the registration decorator tells Django that this filter promises not to output any troublesome characters. A safe string passed to a filter does not get escaped by Django. The default value for is_safe is False.
Note that is_safe=True is not marking your filter result as safe. That’s a separate step for which you are responsible. The call to .isalpha() above ensures that all output from this function is safe, so there’s no need for an extra step.
Be careful when determining whether your filter is safe or not, especially when removing characters. A filter that removed all semicolons would break HTML entities that depend on semicolons, like &.
To play with the nth_letters filter, create dinosoar/templates/alberto.html:
 1<!-- dinosoar/templates/alberto.html -->
 2
 3{% extends "base.html" %}
 4{% load dinotags %}
 5
 6{% block content %}
 7
 8<h1>Albertosaurus</h1>
 9
10<p>
11  Albertosaurus ('Alberta lizard') is a smaller cousin of
12  the T-Rex. These dinosaurs were named after the location
13  of their first discovery, Alberta, Canada.
14
15</p>
16
17<p>
18  The nth letters of our dinosaur variable are:
19  <ul>
20    <li> 3rd: "{{dinosaurs|nth_letters:3}}"</li>
21    <li> 5th: "{{dinosaurs|nth_letters:5}}"</li>
22    <li> 10th: "{{dinosaurs|nth_letters:10}}"</li>
23  </ul>
24</p>
25
26{% endblock content %}
Visit http://127.0.0.1:8000/show_dino/alberto/ to get the resulting HTML:
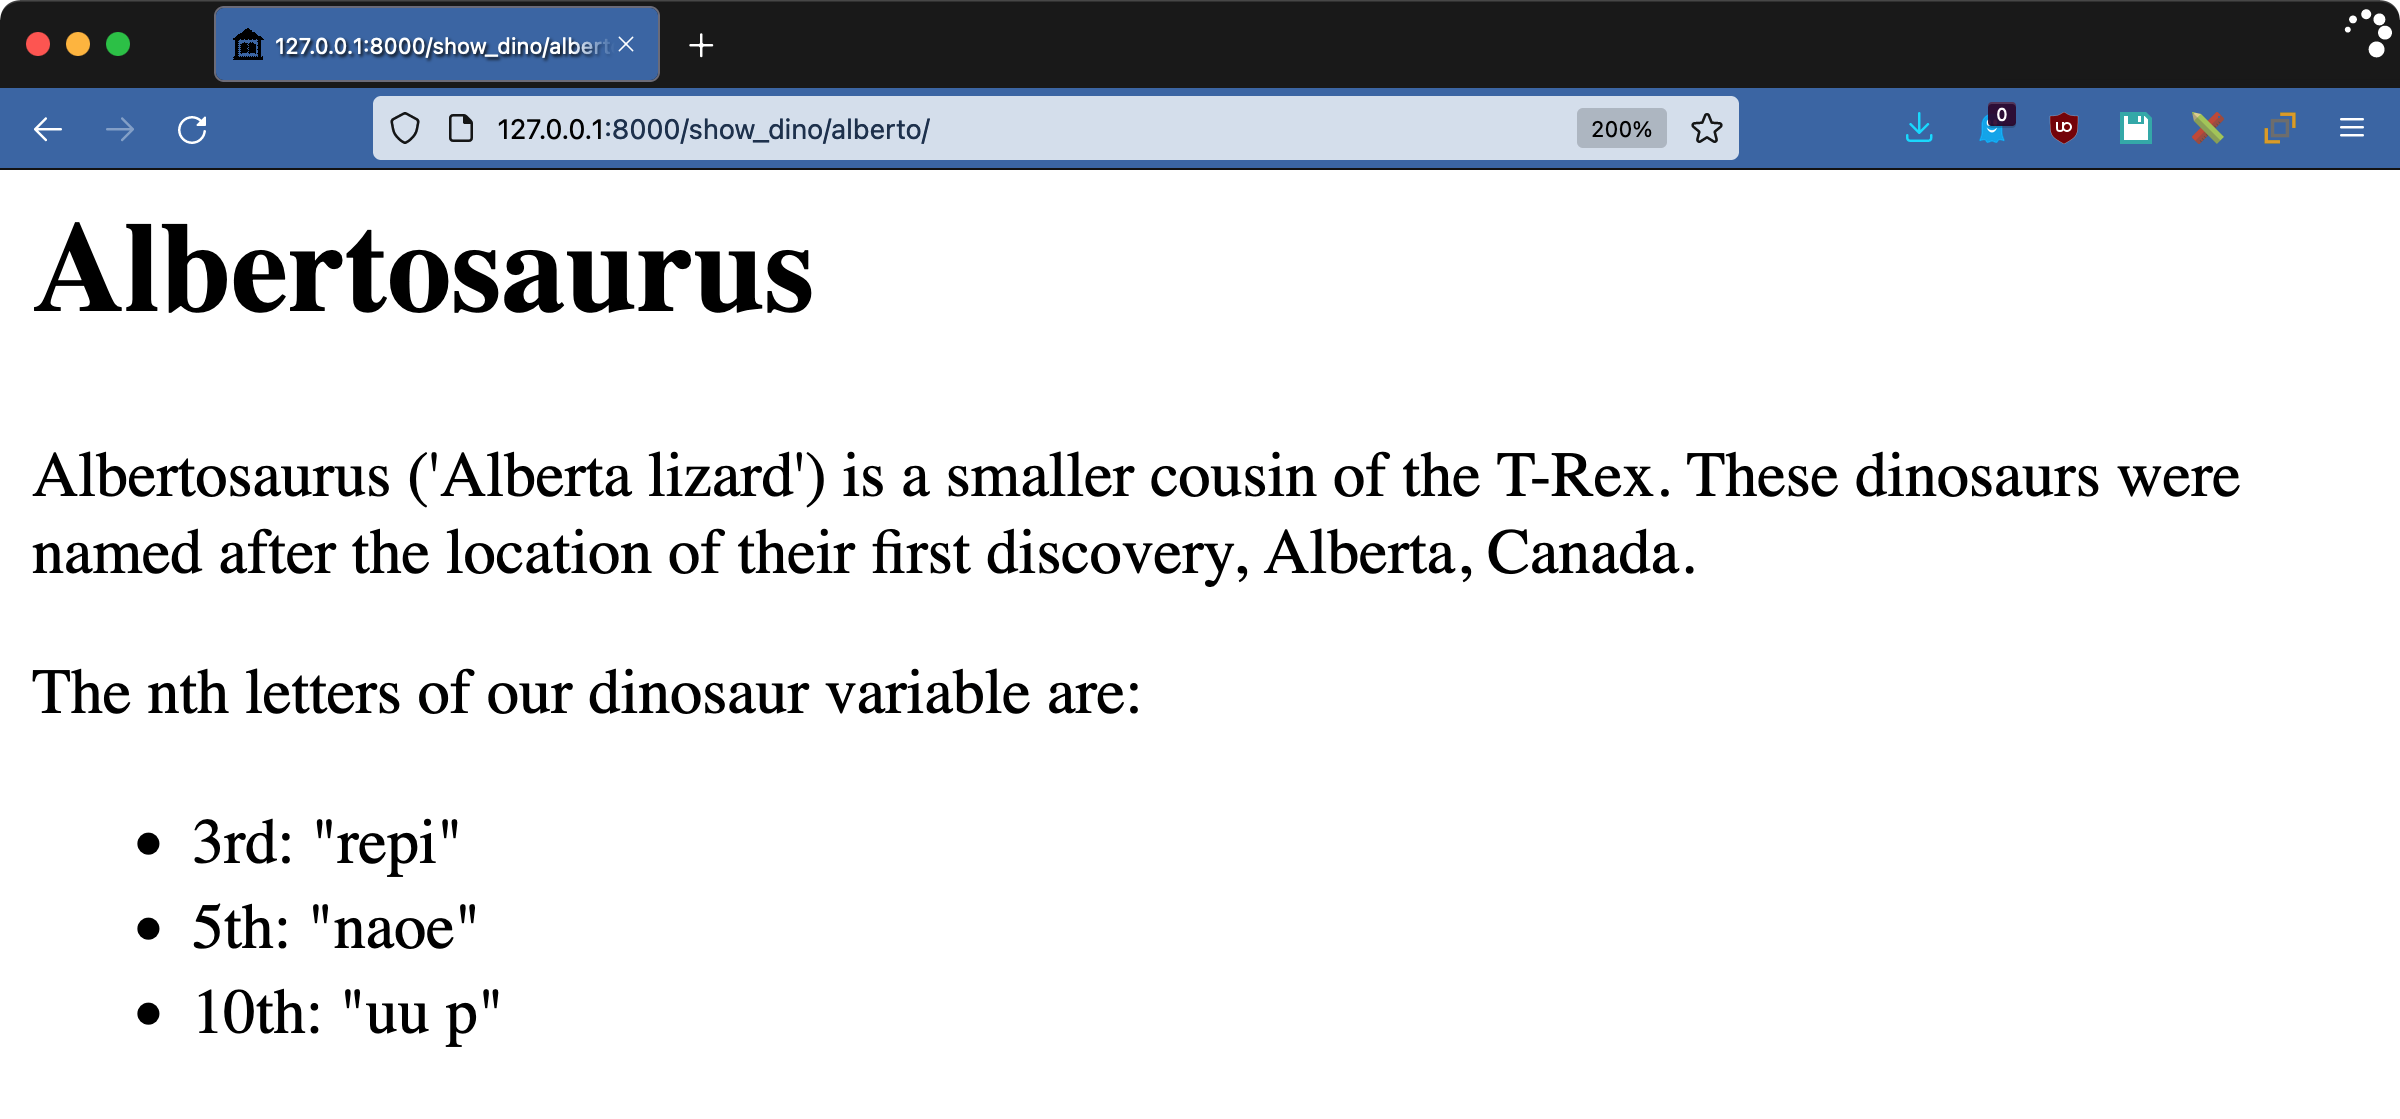
Explore the text and check that your nth_letters filter works how you’d expect.
The Canadian lizard might not have been king, but you probably still wouldn’t want to meet it in a dark alley.
String Filters
The data type of a filter’s argument is the data type of the value used inside the template. The most common data type within HTML documents is the string. Django provides a way to coerce the filter’s input into a string, so you don’t have to do this manually. Now you’ll write a new filter that outputs a sentence summarizing the number of instances of a letter in a string.
Add the following to your dinotags.py file:
35# dinosoar/dinofacts/templatetags/dinotags.py
36
37from django.template.defaultfilters import stringfilter
38from django.utils.html import conditional_escape, mark_safe
39
40@register.filter(needs_autoescape=True)
41@stringfilter
42def letter_count(value, letter, autoescape=True):
43    if autoescape:
44        value = conditional_escape(value)
45
46    result = (
47        f"<i>{value}</i> has <b>{value.count(letter)}</b> "
48        f"instance(s) of the letter <b>{letter}</b>"
49    )
50
51    return mark_safe(result)
The @stringfilter decorator on line 41 indicates that this filter only takes strings. Django turns the filter’s value into a string before passing it into the filter. There are some other interesting things going on in this function:
- Line 40 uses the
needs_autoescapeparameter in the registration decorator. This tells Django to add another argument to the filter function:autoescape. The value of this argument will indicate whether autoescaping is on or off for the scope of this filter. - Line 42 declares the filter function and includes the
autoescapeargument mentioned above. This argument should default toTrueso that you’re in autoescape mode if your code calls the function directly. - Lines 43 to 44 replace
valuewith the result ofconditional_escape()ifautoescapeisTrue. Theconditional_escape()function escapes the string but is smart enough to not escape something that has already been escaped. - Lines 46 to 49 build the returning string. Because the
letter_countfilter outputs HTML with bold and italic tags, it has to be autoescape-aware. The f-string on line 47 uses the contents ofvalue, which got appropriately escaped in lines 43 to 44, as needed. Theresultstring containsvaluein italics and the letter count in bold. - Line 51 calls
mark_safe()on theresultvariable. Because the filter is outputting HTML that should be displayed, the function must mark the string as safe. This tells Django not to further escape the contents so the bold and italic tags get rendered by your browser.
To test out this filter, create the following in dinosoar/templates/mosa.html:
1<!-- dinosoar/templates/mosa.html -->
2
3{% extends "base.html" %}
4{% load dinotags %}
5
6{% block content %}
7
8<h1>Mosasaurus</h1>
9
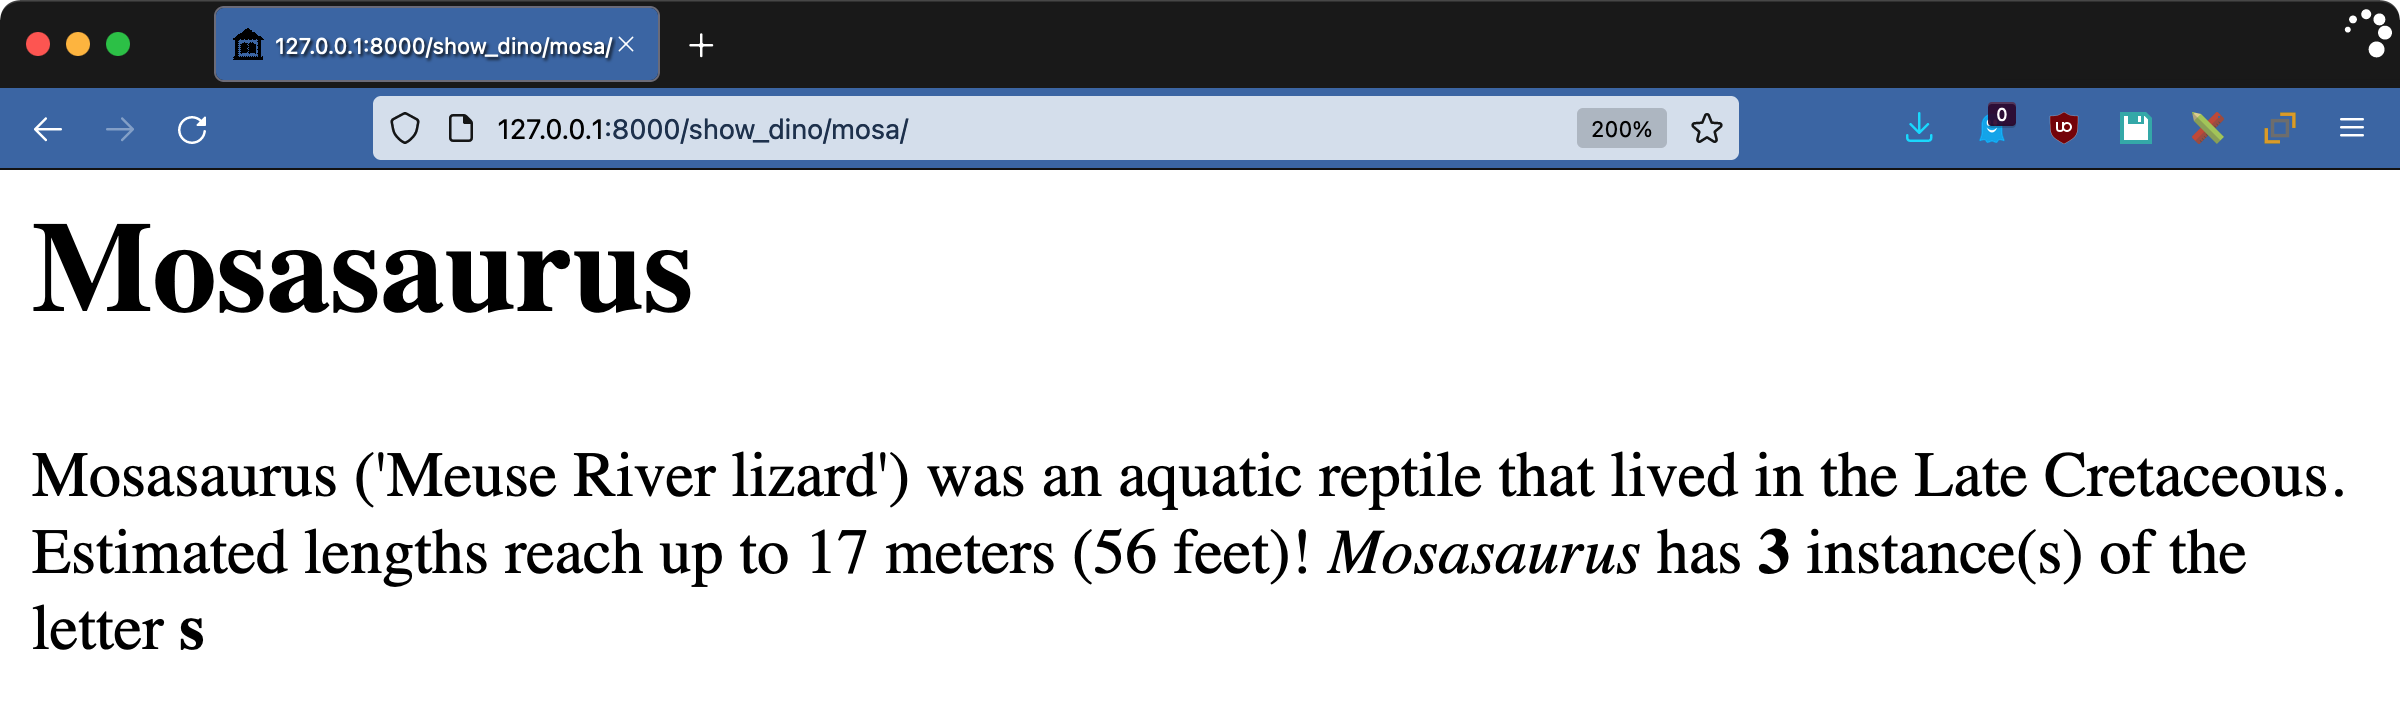
10<p>
11 Mosasaurus ('Meuse River lizard') was an aquatic reptile that lived in
12 the Late Cretaceous. Estimated lengths reach up to 17 meters
13 (56 feet)! {{"Mosasaurus"|letter_count:"s"}}
14
15</p>
16
17{% endblock content %}
Fire up your development server and go to http://127.0.0.1:8000/show_dino/mosa/ to see the following results:
The @stringfilter decorator is a quick shortcut that ensures your filter will only have to deal with strings. The needs_autoescape argument and its corresponding autoescape argument give you fine-grained control over what the filter does and doesn’t autoescape.
Date Filters
Dates and time zones can be tricky things to deal with. Dealing with them on a website has an added wrinkle: whose time zone? The server’s? The user’s? Something else?
Django has built-in tools to help deal with this problem. Part of Django’s solution is two key settings:
USE_TZTIME_ZONE
When USE_TZ is True, Django does all date work according to the time zone you set in TIME_ZONE. The default setting for this is UTC.
It’s easy to forget that template rendering happens on the server-side. Each visitor is getting their own page rendered, so it’s natural to think of the browser as being responsible. However, since rendering does happen on the server, the server’s time zone is the time zone used—unless Django’s settings make it otherwise. Neither the server’s time zone nor Django’s settings have to correspond to the user’s time zone.
This makes filters and dates complicated. To assist with this, filter registration supports an argument called expects_localtime. Django converts datetime objects into the configured time zone when expects_localtime is True. To see how this works, add the following code to dinotags.py:
57# dinosoar/dinofacts/templatetags/dinotags.py
58
59@register.filter(expects_localtime=True)
60def bold_time(when):
61    return mark_safe(f"<b>{when}</b>")
This filter returns a bolded version of the passed in datetime object. There are better ways of doing this without a filter, but that wouldn’t show you the time zone effects. With expects_localtime set to True in the code above, Django will render the page with a datetime object moved into the time zone specified by the TIME_ZONE setting. To play around with this, create dinosoar/templates/ptero.html:
 1<!-- dinosoar/templates/ptero.html -->
 2
 3{% extends "base.html" %}
 4{% load dinotags %}
 5
 6{% block content %}
 7
 8<h1>Pterodactyl</h1>
 9
10<p>
11  Pterodactyl ('winged finger') is the common name for Pterodactylus,
12  the first of the genus pterosaur to be identified as a flying
13  reptile. This species is thought to have gone extinct 150 million
14  years ago, which is a long time before now ({{now|bold_time}}).
15
16</p>
17
18{% endblock content %}
Visit the page http://127.0.0.1:8000/show_dino/ptero/ to see the filter in action:

To see the difference, edit dinosoar/dinosoar/settings.py and change the values of USE_TZ or TIME_ZONE and reload the page. Depending on your choices, the time and possibly even the date will change.
Custom filters give you fine-grained control over your HTML output. They enable you to change the appearance of your data through reusable components. However, as filters are data-focused, they’re limited. To have complete control over a block, you need custom tags.
Writing Django Template Custom Tags
Filters operate on a single value modifying how they’re rendered. Tags are much more flexible than that, allowing you to inject or modify blocks of content as well as manipulate the data context.
Like filters, you work with tags by:
- Declaring them in modules inside an app’s
templatetags/directory - Registering them using a
Libraryinstance - Implementing them as functions
Additionally, for more complex tags, you can use rendering classes instead of functions. This is necessary to implement tags that render blocks.
Using Simple Tags
To make tag writing more straightforward, Django has the @simple_tag decorator. Structurally, this is similar to a filter: you register a function as a tag, and Django renders its return value. Unlike the filter, tags don’t get associated with values. They’re on their own. You’ll start with the simplest of simple tags by editing the dinosoar/dinofacts/templatetags/dinotags.py file:
57# dinosoar/dinofacts/templatetags/dinotags.py
58
59@register.simple_tag
60def mute(*args):
61    return ""
Django’s {% comment %} tag is a block and requires a lot of typing. The tag above is a more basic version of the same idea: whatever gets passed into the tag as a parameter gets ignored, and Django renders the tag as an empty string. Create dinosoar/templates/rex.html to test your mute tag:
 1<!-- dinosoar/templates/rex.html -->
 2
 3{% extends "base.html" %}
 4{% load dinotags %}
 5
 6{% block content %}
 7
 8<h1>Tyrannosaurus {% mute "The King" %} Rex</h1>
 9
10<p>
11  Tyrannosaurus rex ('lizard-tyrant king'), or T-Rex for short, is the
12  largest of a genus of theropods.
13
14  It had very {% mute "chomp chomp chomp" %} big teeth.
15</p>
16
17{% endblock content %}
Visit the page http://127.0.0.1:8000/show_dino/rex/ to see the filter in action:
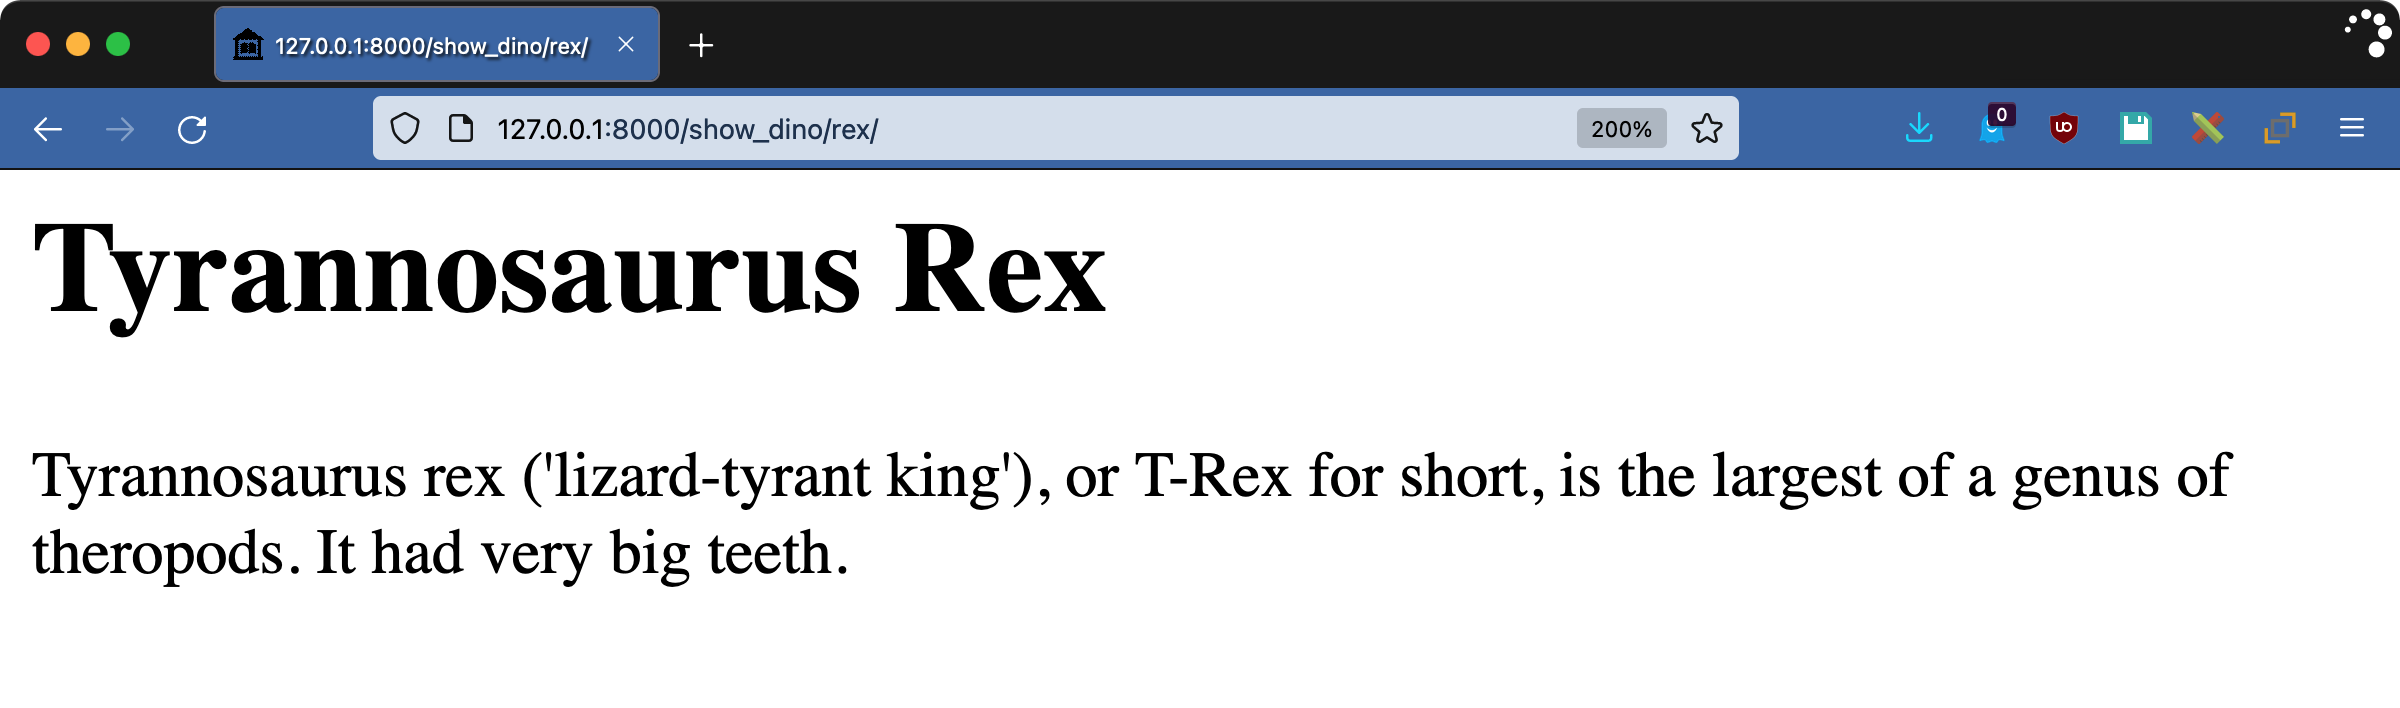
There’s not much to see in the results, and that’s the point. Everything inside the mute tag has been removed.
Escaping Content
Tags, like filters, have to be concerned with whether the content they’re generating is safe for HTML or not. Tags created with @simple_tag are automatically autoescaped but still need to have their content marked safe if it contains HTML.
Consider the following tag, which takes a list and renders an HTML bulleted list. Open dinotags.py and add the following function:
71# dinosoar/dinofacts/templatetags/dinotags.py
72
73from django.utils.html import escape, mark_safe
74
75@register.simple_tag
76def make_ul(iterable):
77    content = ["<ul>"]
78    for item in iterable:
79        content.append(f"<li>{escape(item)}</li>")
80
81    content.append("</ul>")
82    content = "".join(content)
83    return mark_safe(content)
This function takes an iterable—such as a list—and wraps each of its items in an HTML <li> block. Note the use of escape() on line 79. You don’t want to trust what’s passed into the tag. The content variable is a list that starts with a <ul> tag, has each item appended, and then ends with the corresponding closing </ul> tag. Everything gets joined together into a string, and the string gets marked safe.
Use make_ul in a template by creating dinosoar/templates/bronto.html:
1<!-- dinosoar/templates/bronto.html -->
2
3{% extends "base.html" %}
4{% load dinotags %}
5
6{% block content %}
7
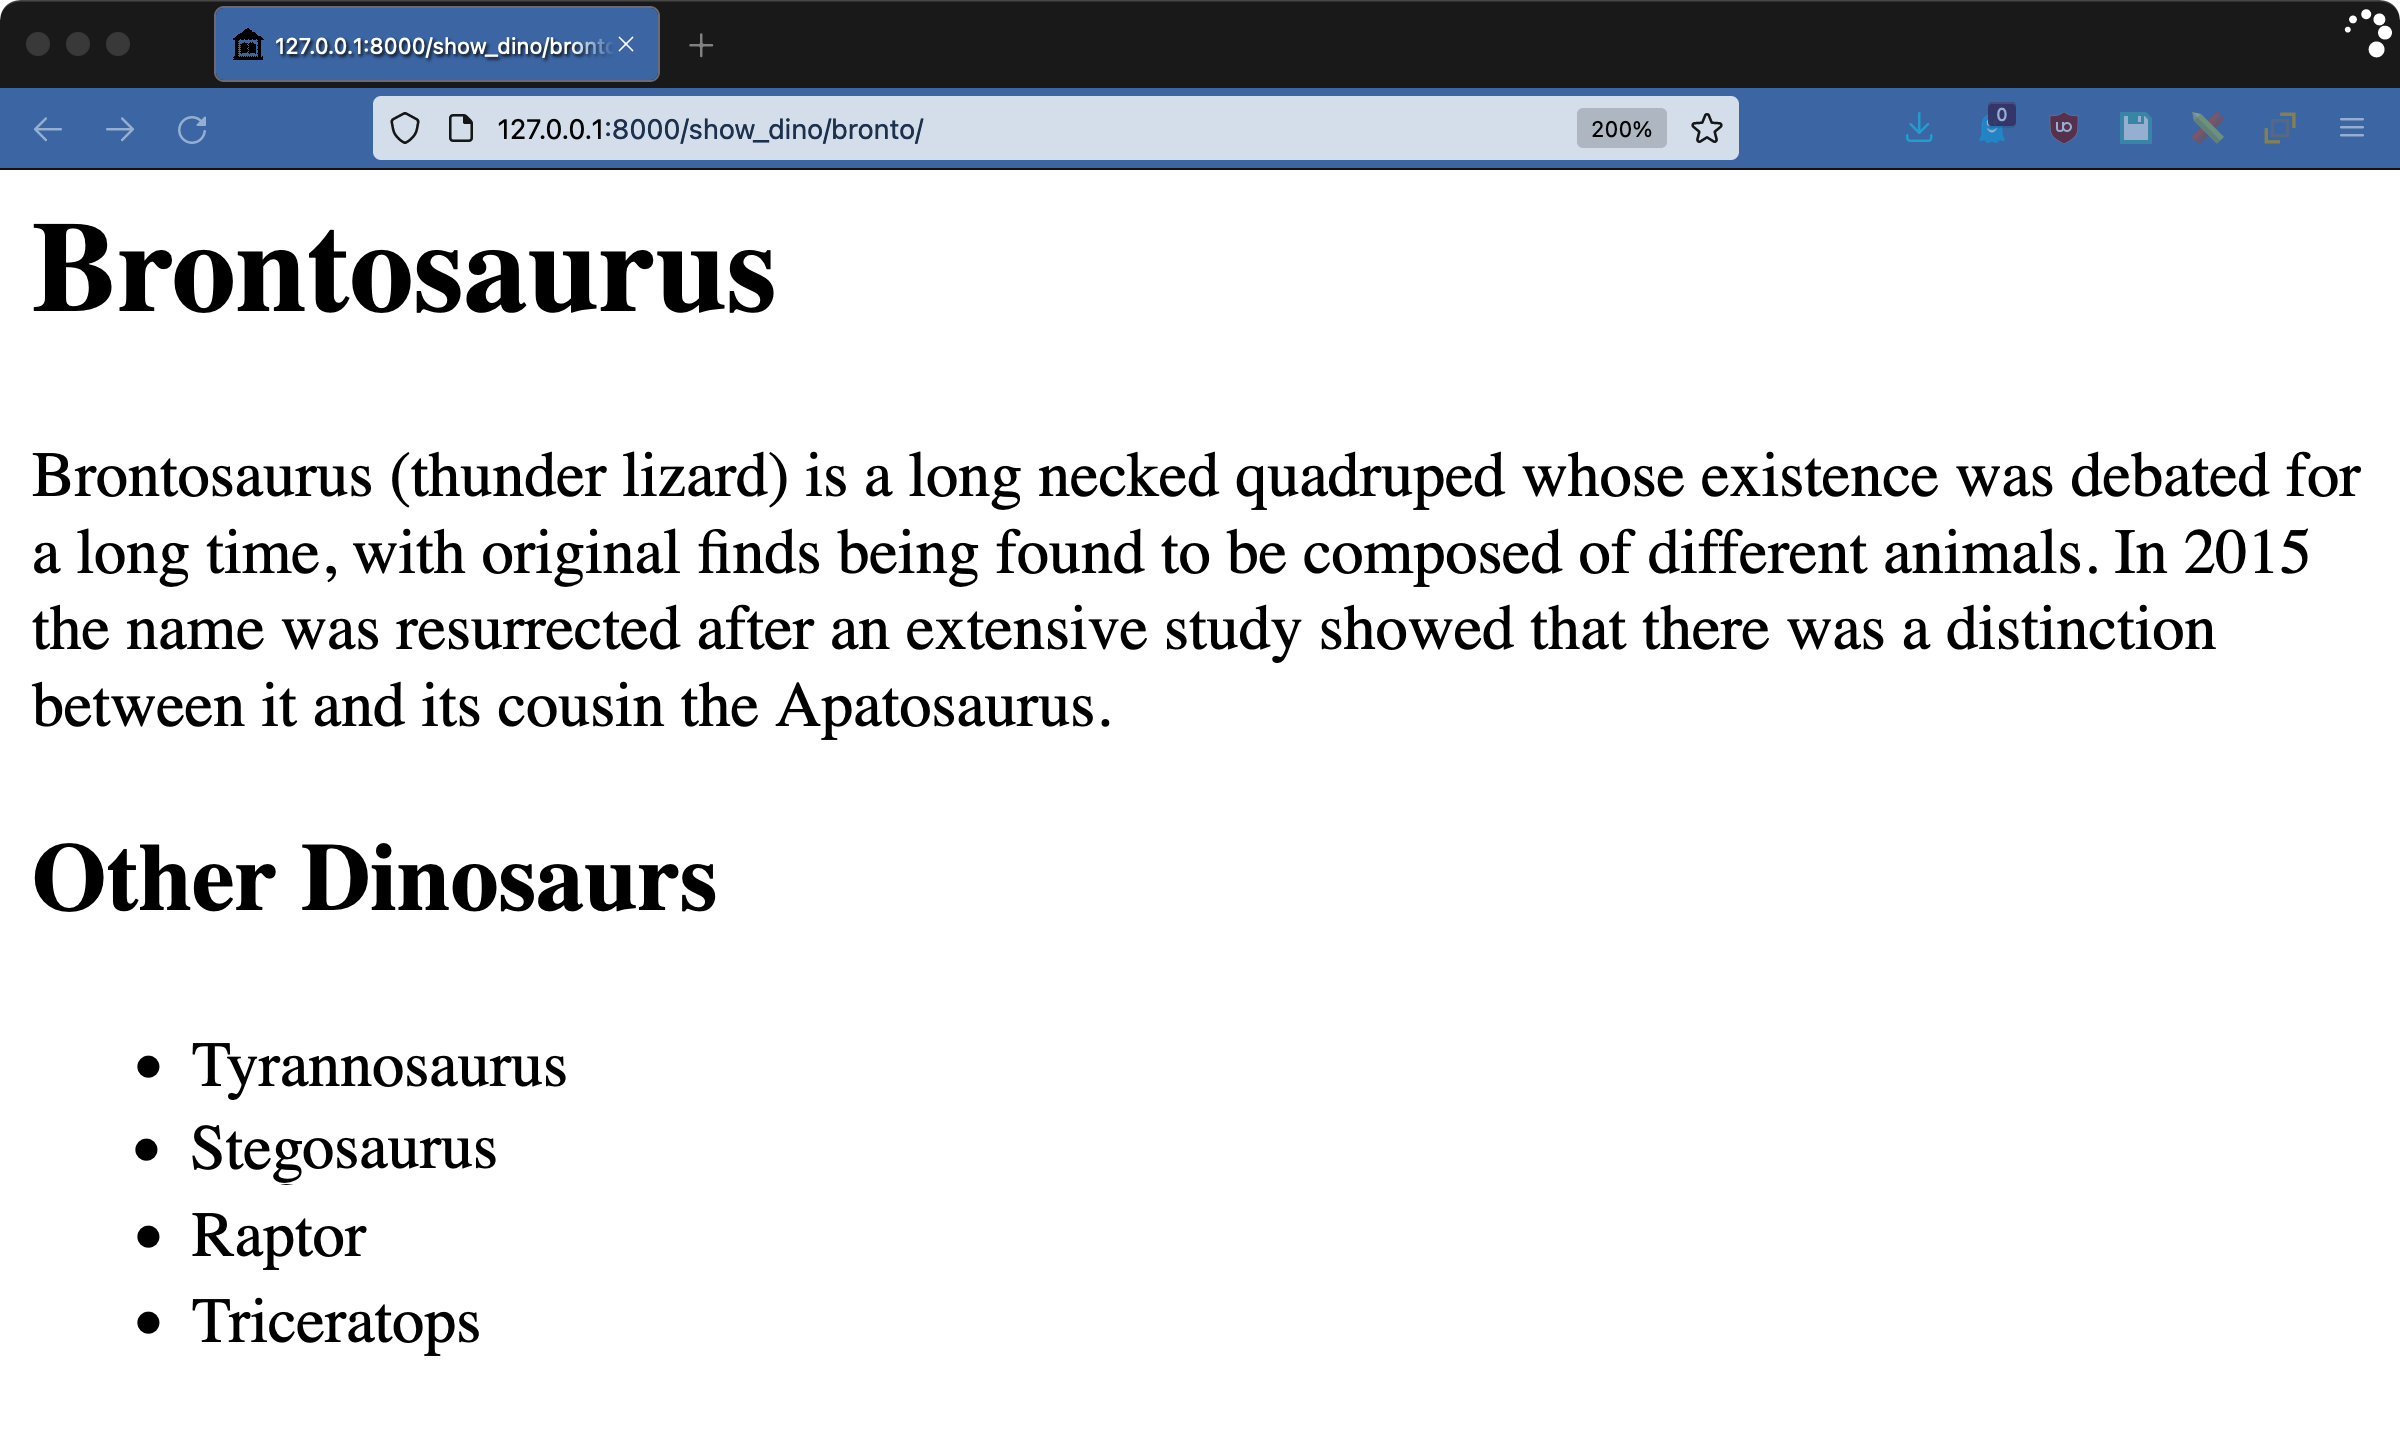
8<h1>Brontosaurus</h1>
9
10<p>
11 Brontosaurus (thunder lizard) is a long necked quadruped whose existence
12 was debated for a long time, with original finds being found to be
13 composed of different animals. In 2015 the name was resurrected after
14 an extensive study showed that there was a distinction between it and
15 its cousin the Apatosaurus.
16
17</p>
18
19<h2>Other Dinosaurs</h2>
20
21{% make_ul dinosaurs %}
22
23{% endblock content %}
Visit http://127.0.0.1:8000/show_dino/bronto/ to get the result:
Play around with the dinosaurs value from the show_dino() view inside dinosoar/dinofacts/views.py to see how escaping works. For example, add bold tags to "Tyrannosaurus" to make it "<b>Tyrannosaurus</b>", and you’ll see the tags displayed instead of actually making anything bold.
Working With the Context
When your view renders a template, you can pass data to the template engine through a dictionary called Context. All values rendered in a page come from the Context object, and you can get and set them from within a tag. Create a new tag in dinotags.py:
87# dinosoar/dinofacts/templatetags/dinotags.py
88
89@register.simple_tag(takes_context=True)
90def dino_list(context, title):
91    output = [f"<h2>{title}</h2><ul>"]
92    for dino in context["dinosaurs"]:
93        output.append(f"<li>{escape(dino)}</li>")
94
95    output.append("</ul>")
96    output = "".join(output)
97
98    context["weight"] = "20 tons"
99    return mark_safe(output)
This code is similar to make_ul but with a few key changes:
- Line 89 adds the
takes_contextargument to the tag registration call. Setting this toTruetells Django to add an argument to the tag’s function call that contains theContextobject. - Line 90 declares the function for the tag. Note that the
contextargument comes first. Tags can take a variable number of arguments, socontexthas to come first. - Line 92 accesses the
contextargument as a dictionary, getting the value fordinosaurs, which is the same list of dinosaurs used in many other examples. - Line 98 writes the string
"20 tons"to the context using the key"weight".
Create a new file called dinosoar/templates/apato.html to test this tag:
 1<!-- dinosoar/templates/apato.html -->
 2
 3{% extends "base.html" %}
 4{% load dinotags %}
 5
 6{% block content %}
 7
 8<h1>Apatosaurus</h1>
 9
10<p>
11  Apatosaurus (deceptive lizard) is a long necked quadruped that when
12  originally discovered was confused with parts of what is now called
13  a Brontosaurus.  Apatosaurus weighed on average {{weight}}.
14
15</p>
16
17{% dino_list "Other Big Lizards" %}
18
19<p>
20  Let's try this again: Apatosaurus weighed on average {{weight}}.
21</p>
22
23{% endblock content %}
Note the use of the value weight on lines 13 and 20. The first use is before the {% dino_list %} tag, and the second use is after. As the value for weight is added as a side effect of the tag, the first instance should be undefined and therefore blank.
The scope of context changes is strictly within the rendering engine. Modifying the context dictionary doesn’t affect any original value in the view. Try out this template by going to http://127.0.0.1:8000/show_dino/apato/:
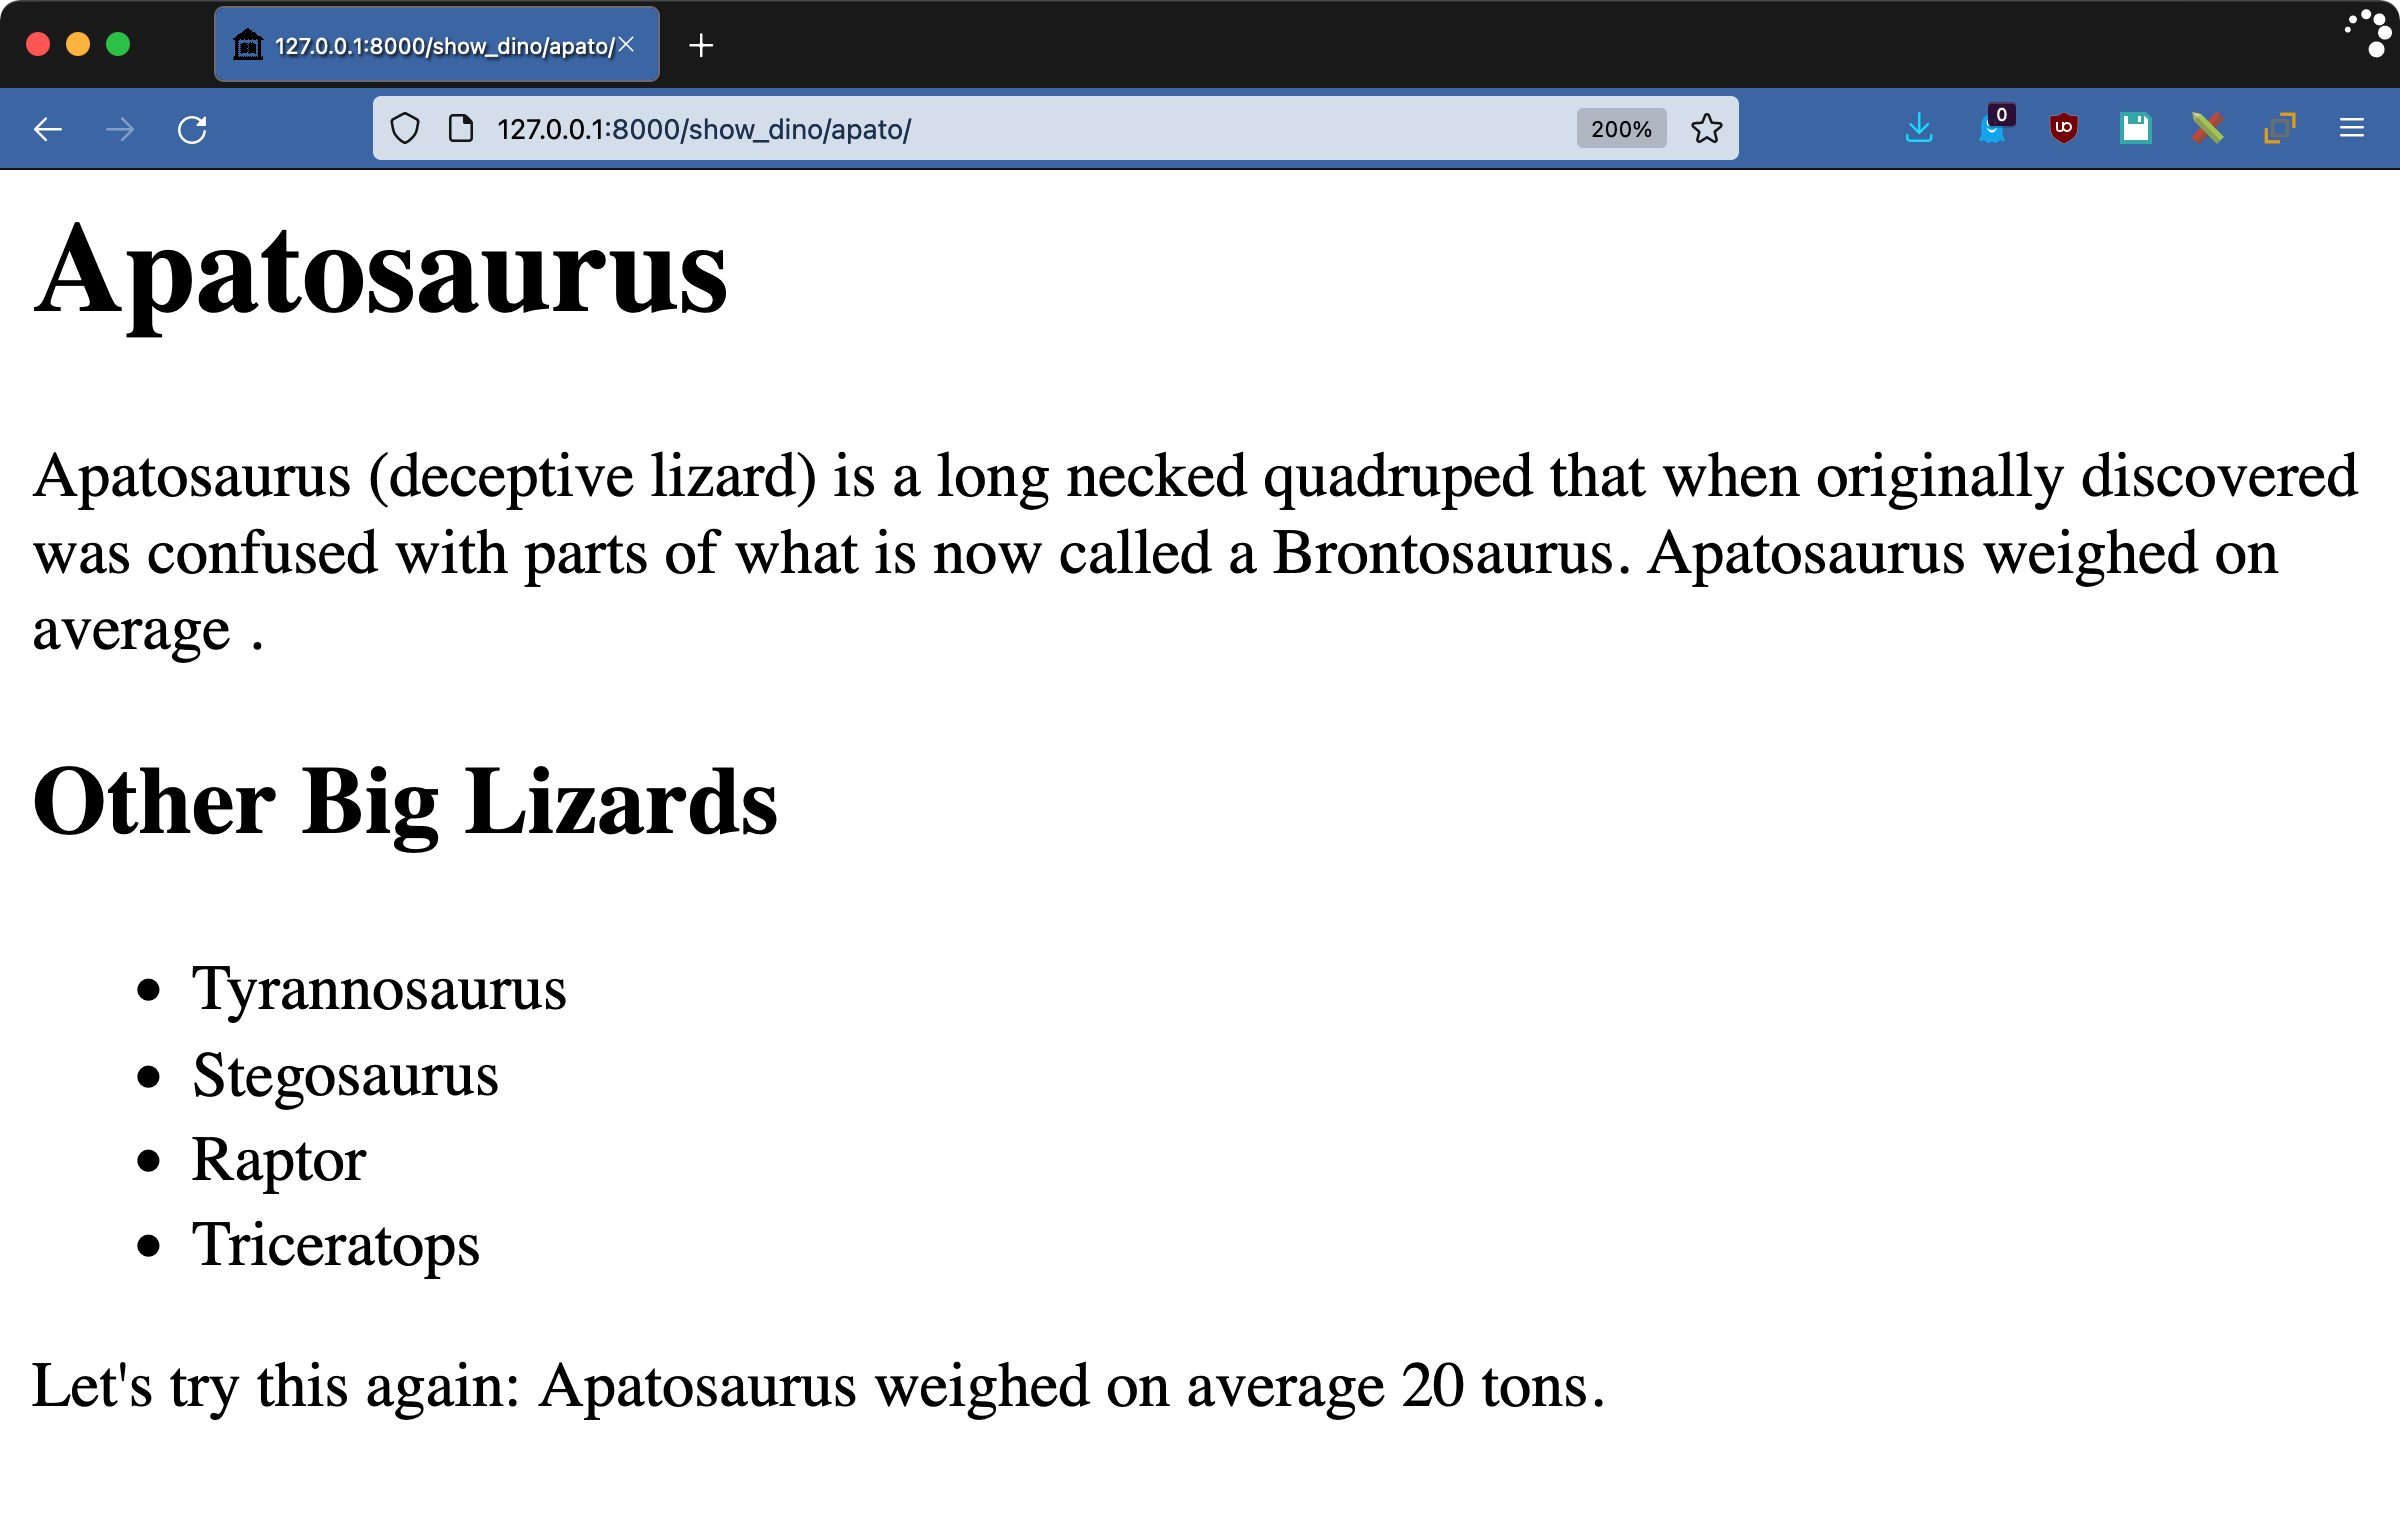
As promised, the sentence Apatosaurus weighed on average ends rather abruptly. The value for weight isn’t assigned until the template engine renders the tag. The use of the context within tags is a powerful tool for communicating between your tags or saving state for a tag that you run multiple times.
Writing Inclusion Tags
The template engine renders whatever your tag function returns. As you have explored in previous examples, you often write HTML snippets inside your tags. Composing HTML inside strings can be cumbersome, so inclusion tags give you another way to accomplish this: your tag itself can use templates. To see how this is done, start by creating the subtemplate dinosoar/templates/sublist.html:
 1<!-- dinosoar/templates/sublist.html -->
 2
 3<ul>
 4  {% for item in iterator %}
 5    <li>{{item}}</li>
 6  {% endfor %}
 7</ul>
Your tag will use this template. Now you can add the following tag function to dinotags.py:
103# dinosoar/dinofacts/templatetags/dinotags.py
104
105@register.inclusion_tag("sublist.html")
106def include_list(iterator):
107    return {"iterator": iterator}
The combination of the sublist.html template and this new tag achieves the same thing that make_ul did, but with less code. The @inclusion_tag decorator specifies which template to render with this tag, and the tag function returns a dictionary to use as the context within that template.
To see the results, create a test page called dinosoar/templates/brachio.html:
 1<!-- dinosoar/templates/brachio.html -->
 2
 3{% extends "base.html" %}
 4{% load dinotags %}
 5
 6{% block content %}
 7
 8<h1>Brachiosaurus</h1>
 9
10<p>
11  Brachiosaurus (arm lizard) is yet another long-necked quadruped.
12
13</p>
14
15<h2> Using include_list </h2>
16{% include_list dinosaurs %}
17
18{% endblock content %}
Go to the usual view to see the page http://127.0.0.1:8000/show_dino/brachio/:

If you’re writing a tag that uses a lot of HTML, using @inclusion_tag is a better way to keep the HTML separate from the code.
Creating Advanced Custom Tags
Simple tags are a quick way of writing a tag for the rendering engine to replace inline. Something you can’t do with a simple tag is build blocked areas. Consider how {% comment %} and {% endcomment %} are paired together, removing everything between them. In this section, you’ll explore how to build advanced Django custom tags.
Parsing Content
To build a paired block tag, you’ll need to implement a class that extends django.template.Node. This class is responsible for rendering the tag. Django provides a utility for parsing the content between paired block tags, which it then passes to your Node class for rendering.
To demonstrate paired block tags, you’ll implement a Markdown rendering tag. A library called mistune has already done the heavy lifting for this. Use pip to install mistune:
1$ python -m pip install mistune==0.8.4
At the time of writing this tutorial, mistune has been undergoing an overhaul. The 2.0 version is in beta and is drastically different from the examples shown here. Make sure to install version 0.8.4, or be prepared to adjust the calls to the library.
Note: For a comprehensive guide to using Markdown in Django, check out How to Render Markdown in a Django Application.
Add the following code to dinosoar/dinofacts/templatetags/dinotags.py:
109# dinosoar/dinofacts/templatetags/dinotags.py
110
111import mistune
112
113@register.tag(name="markdown")
114def do_markdown(parser, token):
115    nodelist = parser.parse(("endmarkdown",))
116    parser.delete_first_token()
117    return MarkdownNode(nodelist)
118
119class MarkdownNode(template.Node):
120    def __init__(self, nodelist):
121        self.nodelist = nodelist
122
123    def render(self, context):
124        content = self.nodelist.render(context)
125        result = mistune.markdown(str(content))
126        return result
To build a block tag, you need both a function and a class. Here’s how they work:
- Line 113 registers the
do_markdown()function as a tag. Note that it uses thenameargument to name the tag and that it’s using the.tag()decorator, not.simple_tag(). - Line 114 declares the tag. The arguments are different from a simple tag, taking a parser and a token. The parser is a reference to the template engine’s parser that’s parsing the template. You don’t use the
tokenargument in this case, and you’ll explore it later. - Line 115 uses the
parserobject to continue parsing the template until it sees the end tag, in this case{% endmarkdown %}. - Line 116 calls
.delete_first_token()to remove the opening tag. What you pass to theNodeclass is only what’s between the opening and closing tags. - Line 117 instantiates the
Nodeclass that renders the template, and the template engine passes in the tokens from the parsed tag block. - Lines 119 to 121 declare and initialize the
Nodeclass. - Lines 123 to 126 render the content. For this tag, that involves using
mistuneto convert the tag block from Markdown into HTML. - Line 124 calls
.render()on the contents of the block. This ensures that any embedded template content gets handled and allows you to use values and filters inside your embedded Markdown. - Line 125 converts the rendered content into a string and then uses
mistuneto turn that into HTML. - Line 126 returns the result to be inserted into the rendered page. Note that the result is not autoescaped. Django expects that you know how to protect your users from HTML exploits if you’re writing an advanced tag.
Now you’ll test this new tag with some Markdown content. Create dinosoar/templates/steg.html:
 1<!-- dinosoar/templates/steg.html -->
 2
 3{% extends "base.html" %}
 4{% load dinotags %}
 5
 6{% block content %}
 7
 8<h1>Stegosaurus</h1>
 9
10<p>
11{% markdown %}
12**Stegosaurus** ('roof-lizard') is a four-legged plant eater from the
13*Late Jurassic*. It had:
14
15* Bony back plates
16* Large hindquarters
17* A tail tipped with spikes
18{% endmarkdown %}
19</p>
20
21{% endblock content %}
Load http://127.0.0.1:8000/show_dino/steg/ into your browser to see the finished product:
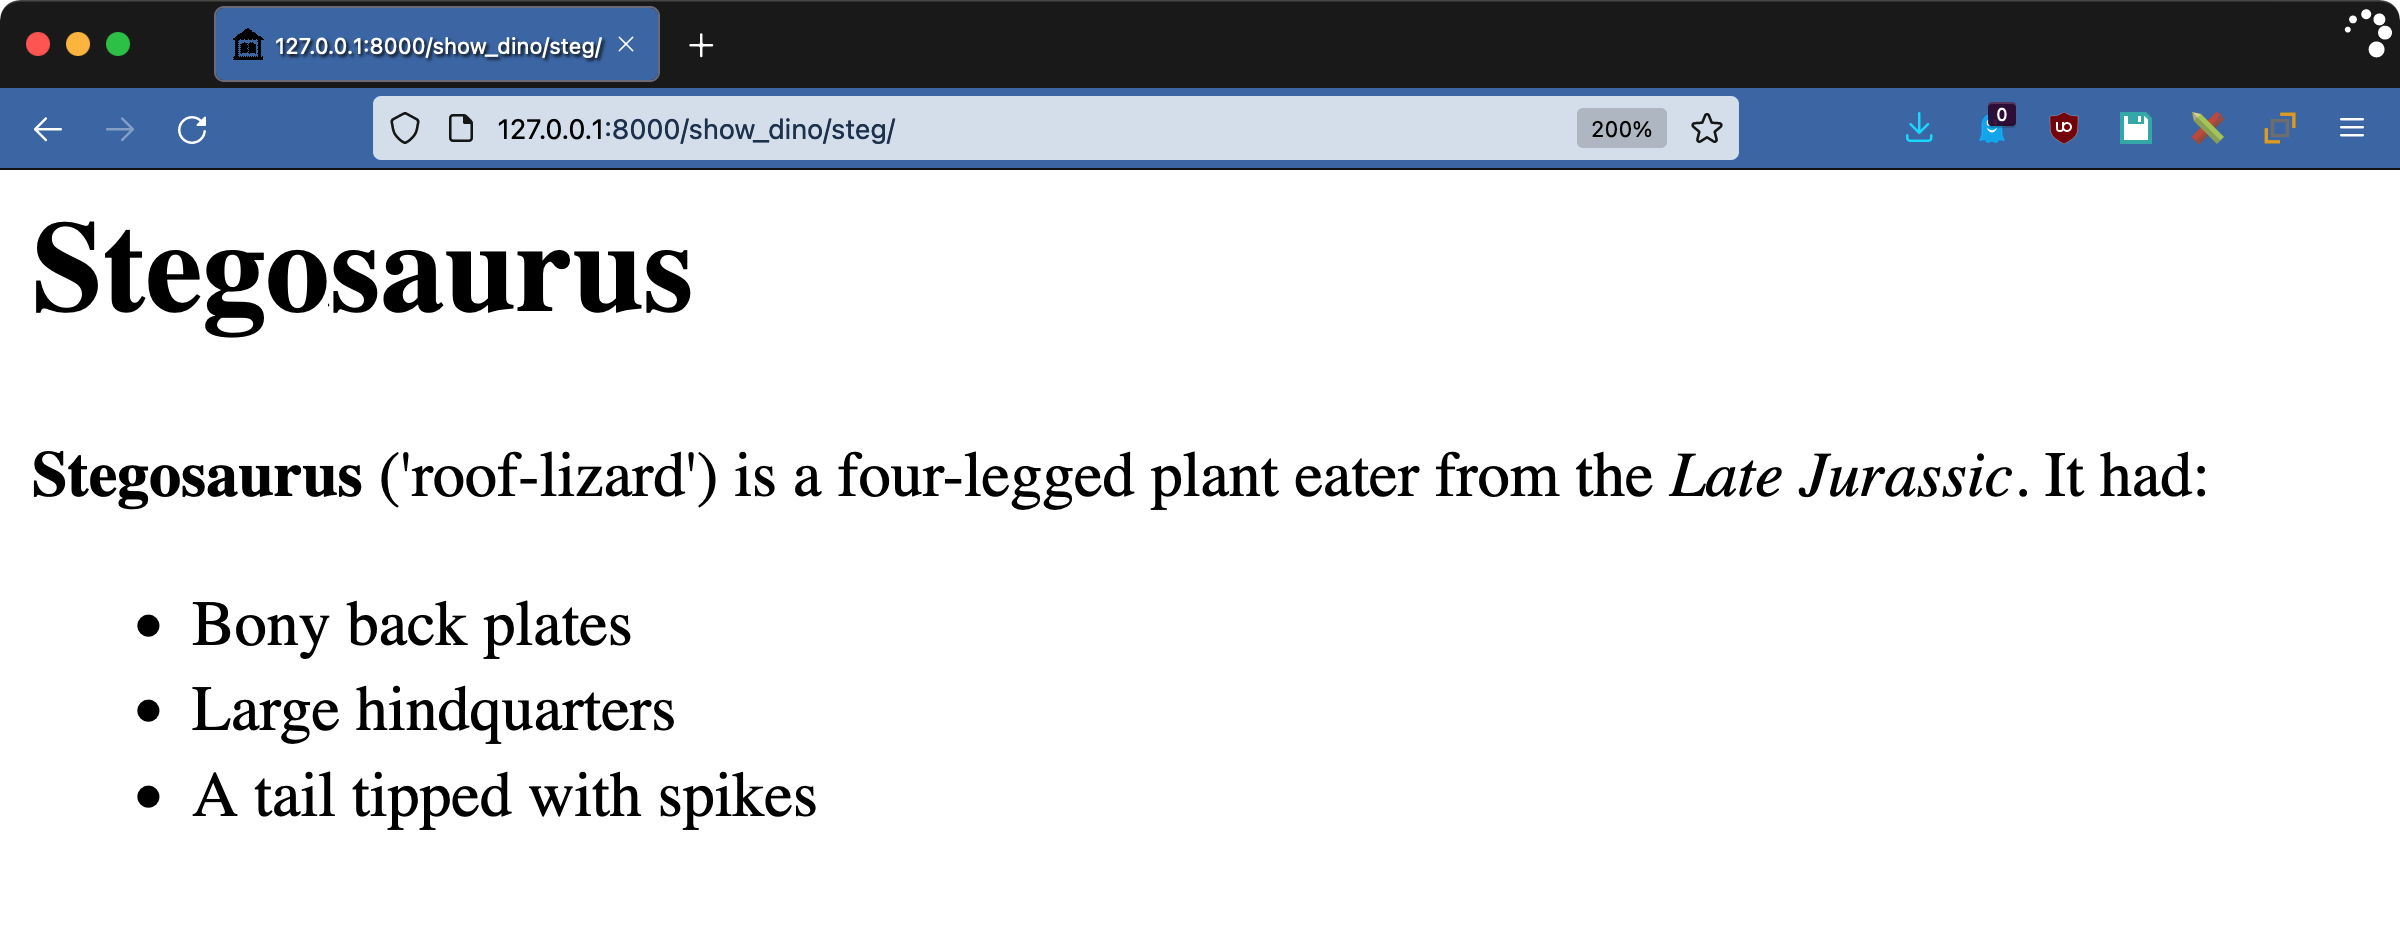
The Markdown from within the block tag pair gets rendered as HTML by the template engine. One thing to keep in mind when playing with Markdown is that indentation is meaningful. If the tag and its contents had not been left-justified, the mistune library would not have been able to convert it properly. This is similar to using a <pre> tag in HTML. Suddenly, spacing matters.
Rendering Content
It’s time to dive deeper into block tags. To see how the parser deals with the contents of a tag, add the following to dinotags.py:
130# dinosoar/dinofacts/templatetags/dinotags.py
131
132@register.tag()
133def shownodes(parser, token):
134    nodelist = parser.parse(("endshownodes",))
135    parser.delete_first_token()
136    return ShowNodesNode(token, nodelist)
137
138class ShowNodesNode(template.Node):
139    def __init__(self, token, nodelist):
140        self.token = token
141        self.nodelist = nodelist
142
143    def render(self, context):
144        result = [
145            "<ul><li>Token info:</li><ul>",
146        ]
147
148        for part in self.token.split_contents():
149            content = escape(str(part))
150            result.append(f"<li>{content}</li>")
151
152        result.append("</ul><li>Block contents:</li><ul>")
153        for node in self.nodelist:
154            content = escape(str(node))
155            result.append(f"<li>{content}</li>")
156
157        result.append("</ul>")
158        return "".join(result)
The contents of shownodes() are quite similar to do_markdown(). The only difference is that this time, the Node class is going to take both token and the parsed content as parameters. The .render() method of ShowNodesNode does the following:
- Lines 144 to 146 create a list that will contain the results. The list starts out with an HTML bulleted list tag and a title.
- Lines 148 to 150 iterate through the contents of the token by calling
token.split_contents(). This token contains the information from the opening tag, including its arguments. The parts of the token get added to the result as a bulleted sublist. - Lines 153 to 155 do something similar, but instead of operating on the token, they operate on the contents of the block tag. Each item in this bulleted sublist will be one of the tokens parsed out of the tag block.
To see how tag parsing works, create dinosoar/templates/tri.html and use {% shownodes %} as follows:
 1<!-- dinosoar/templates/tri.html -->
 2
 3{% extends "base.html" %}
 4{% load dinotags %}
 5
 6{% block content %}
 7
 8<h1>Triceratops</h1>
 9
10<p>
11  Triceratops (three-horned face) is a plant eating quadruped from the
12  Late Cretaceous period.
13
14</p>
15
16{% shownodes "pointy face" "stubby tail"%}
17It has a large bony frill around its neck. A fully grown adult weighed
18{{ weight }}. {% comment %} put more info here {% endcomment %}
19{% endshownodes %}
20
21{% endblock content %}
Your {% shownodes %} tag contains some text, a Context value, and a {% comment %} tag. See what your debugging tag does by visiting http://127.0.0.1:8000/show_dino/tri/:
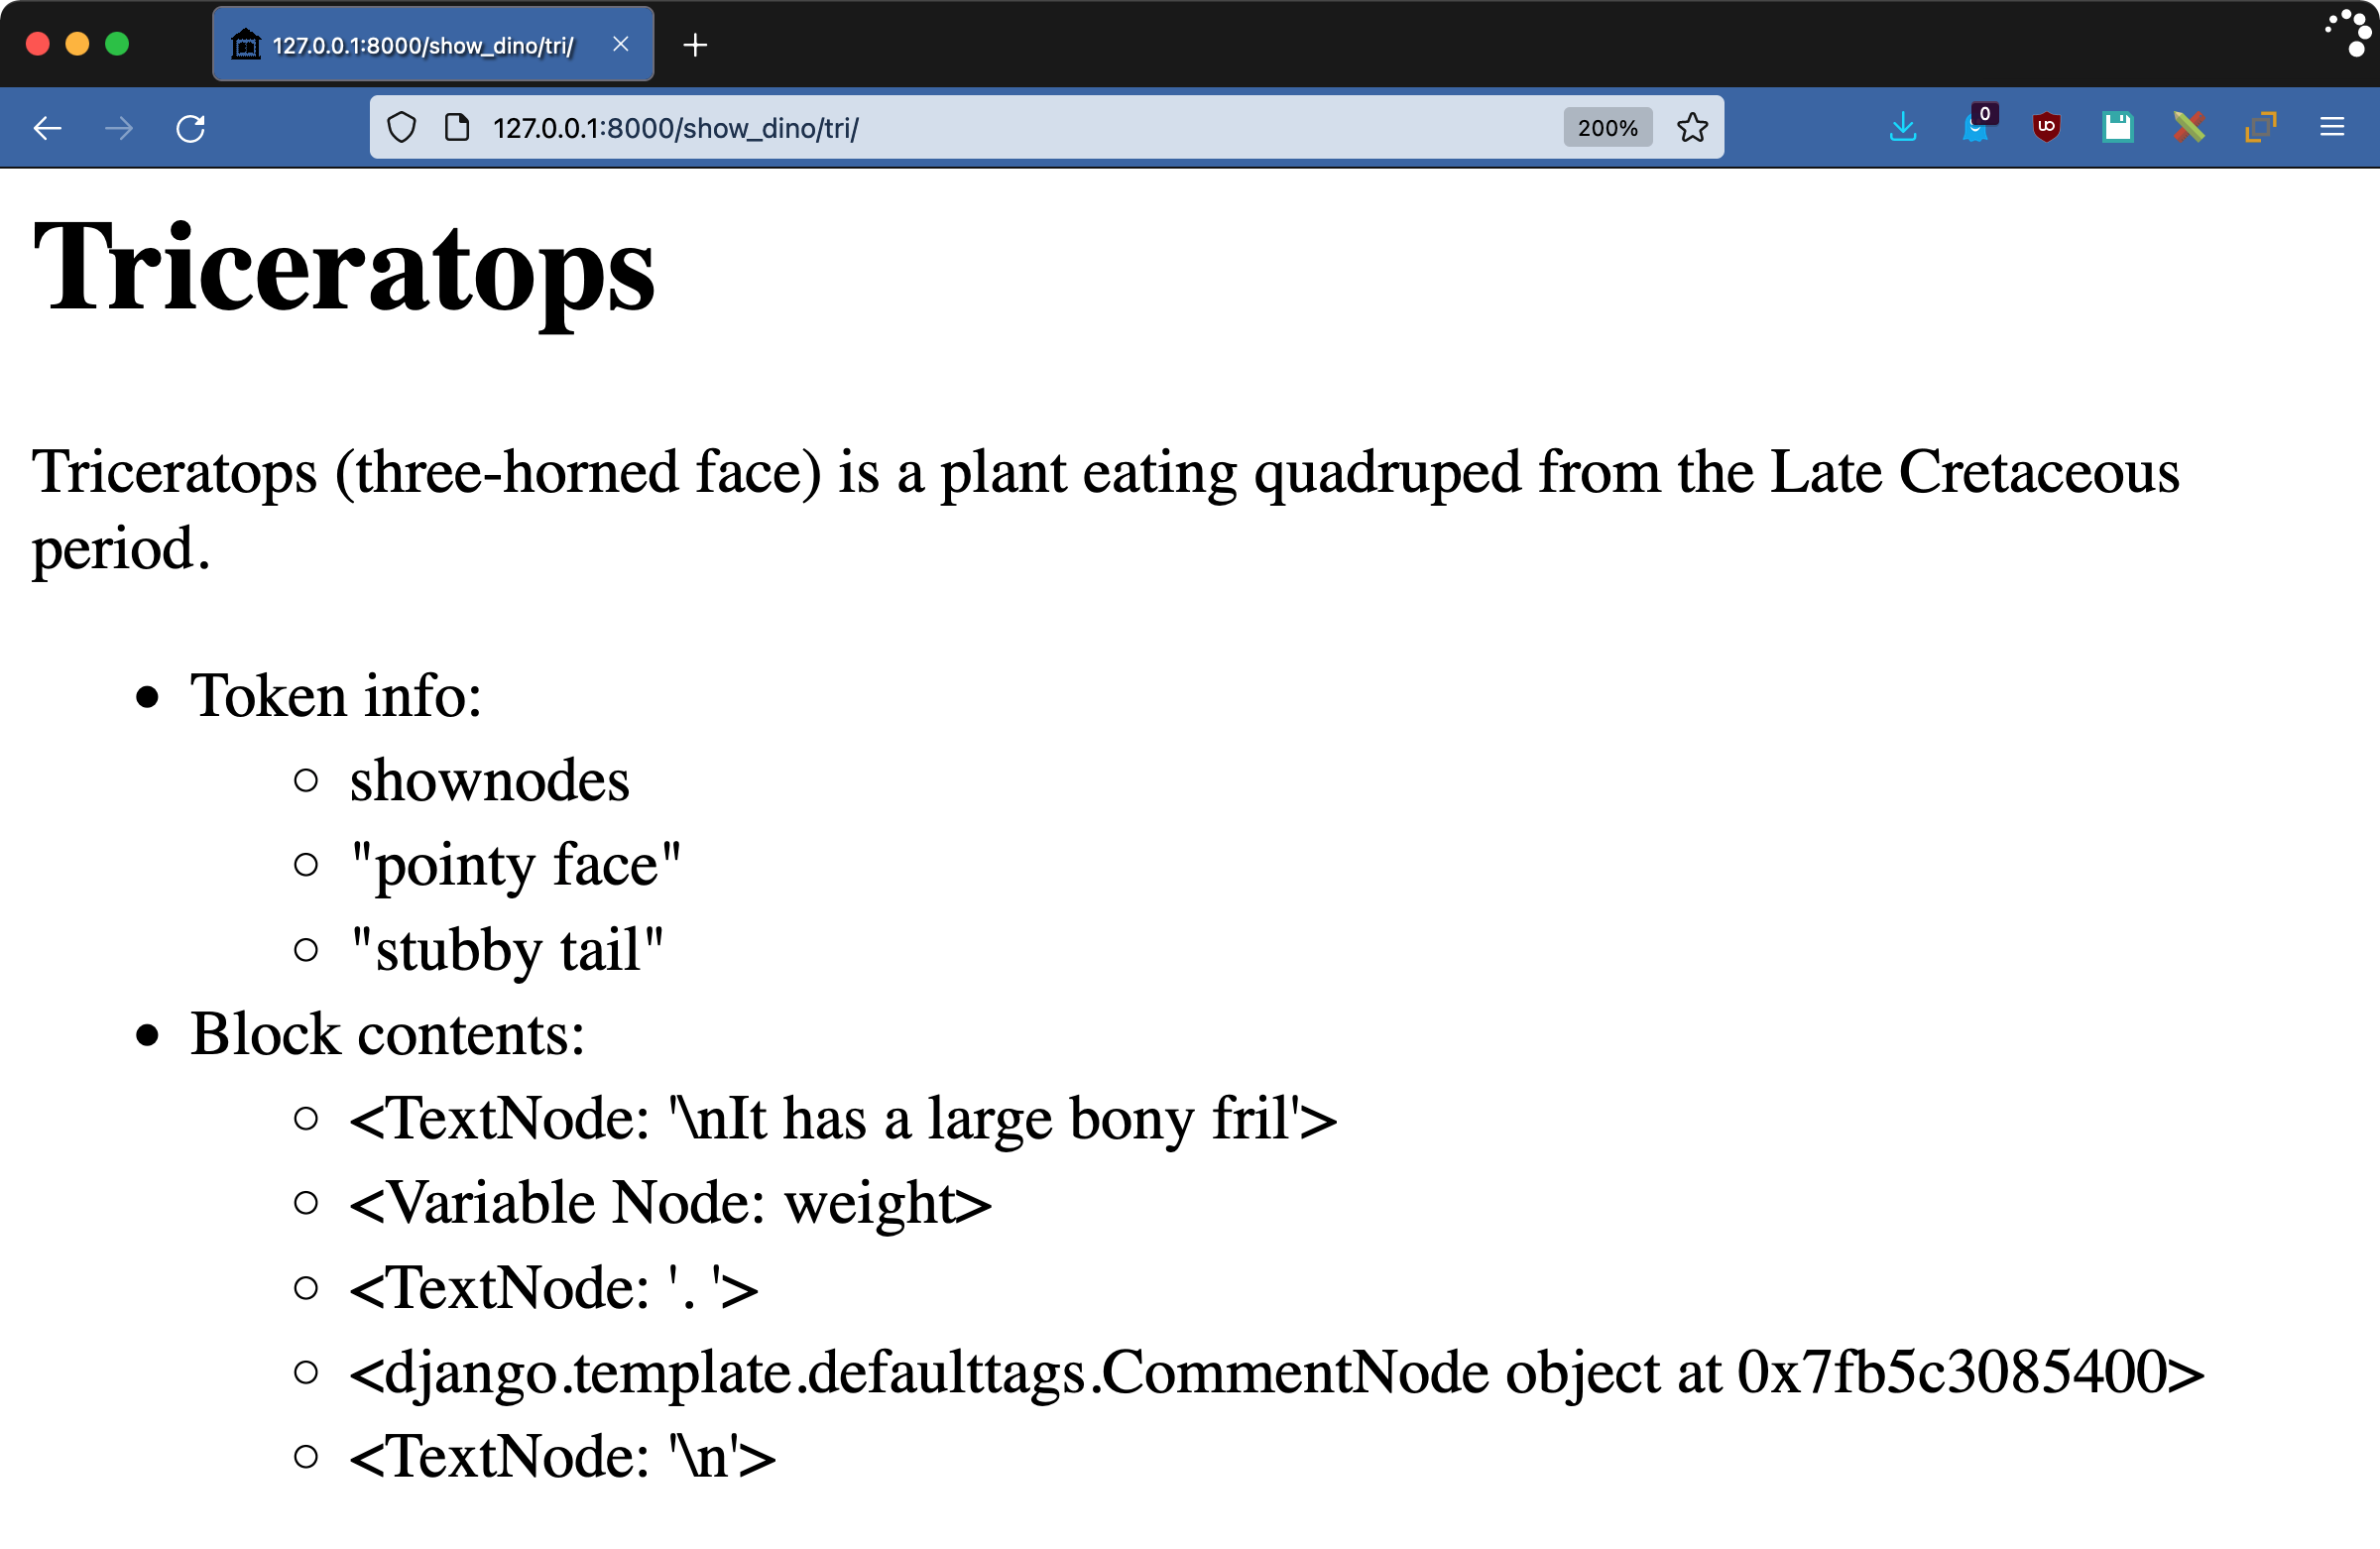
This page shows you a bit more of what’s going on when you write a block-level Django custom tag. The opening tag had two arguments, "pointy face" and "stubby tail", which can be accessed through token.split_contents(). The parser divides the block content into five pieces:
- A
TextNodeobject with the opening part of the sentence - A
VariableNodeobject representing the valueweightthat would normally be rendered - Another
TextNodeobject, ending the first sentence - A child,
CommentNode - A
TextNodeobject containing the final blank line
Normally in a block tag, you’d call .render() on any child contents, which would resolve weight and remove the comment in this case, but you don’t have to. Anything inside your tag’s block is under your control.
Conclusion
Django is structured to separate business logic from presentation code through the use of views and templates. The template language is intentionally restrictive to help enforce this separation.
The original developers of Django were attempting to separate the work of HTML designers from Python programmers. This doesn’t mean you’re stuck with the built-in mechanisms, though. Django custom template tags and filters give you a valuable weapon in your tool chest.
In this tutorial, you learned:
- Where custom template tags and filters live
- How to write a custom filter
- When autoescaping will modify your results and how to deal with it
- How to write simple tags with the
@simple_tagand@inclusion_tagdecorators - About advanced custom tags and parsing the contents of a block tag
For more information about Django, go to the Django project home page. For more information about tags and filters, check out the Django documentation, especially the sections on built-in template tags and filters and custom template tags and filters.
There’s also plenty more to learn about Django on the Django for Web Development Learning Path. Dig in, chow down, take a big bite, and become a Djangosaurus Rex.