Watch Now This tutorial has a related video course created by the Real Python team. Watch it together with the written tutorial to deepen your understanding: Simulating Real-World Processes in Python With SimPy
The real world is full of systems, like airports and highways, that frequently experience congestion and delay. When these systems are not optimized, their inefficiency can lead to countless unhappy customers and hours of wasted time. In this tutorial, you’ll learn how to use Python’s simpy framework to create virtual simulations that will help you solve problems like these.
In this tutorial, you’ll learn how to:
- Use a simulation to model a real-world process
- Create a step-by-step algorithm to approximate a complex system
- Design and run a real-world simulation in Python with
simpy
In this tutorial, you’ll create a simulation for a local movie theater. Your goal is to provide the manager with a script to help find the optimal number of employees to have on staff. You can download the source code for this script by clicking on the link below:
Download Code: Click here to download the code you’ll use to learn about SimPy in this tutorial.
What Simulation Is
A simulation is a representation of a real-world system. One can use mathematical or computational models of this system to study how it works, or what happens when parts of it are changed. Simulations are used in airports, restaurants, mechanics, government agencies, and many other systems where poor resource allocation can lead to congestion, customer dissatisfaction, and critical transportation delays.
A system can be any environment where things happen. Examples of real-world systems include car washes, banks, manufacturing plants, airports, post offices, call centers, and more. These systems have agents that undergo processes within them. For instance:
- A car wash will have cars go through the washing process.
- An airport will have passengers go through the security check process.
- A call center will have customers go through the process of speaking with a telemarketer.
This relationship is summed up in the table below:
| System | Agent | Process |
|---|---|---|
| Car wash | Car | Wash |
| Airport | Passenger | Security check |
| Call center | Customer | Speak with a telemarketer |
Understanding the processes that agents go through within a system is an important component of logistical planning, especially for large-scale organizations. For example, an airport can see passenger wait times at a security checkpoint skyrocket if there aren’t enough workers that day. Similarly, time-sensitive mail can be delayed by days (or even weeks) if it isn’t routed properly.
These instances of congestion can have real-life consequences on time and money, so it’s important to be able to model these processes beforehand. This gives you an idea of where the system might run into problems and how resources should be allocated ahead of time to solve those problems in the most efficient way possible.
How Simulation Works
In Python, you can use the simpy framework for event simulation. First, take a quick look at how a simulated process would run in Python. Below is a code snippet from a simulation of a security checkpoint system. The following three lines of code set up the environment, pass all necessary functions, and run the simulation:
# Set up the environment
env = simpy.Environment()

# Assume you've defined checkpoint_run() beforehand
env.process(checkpoint_run(env, num_booths, check_time, passenger_arrival))

# Let's go!
env.run(until=10)
The first line of code above establishes the environment. You’ll do this by assigning simpy.Environment() to the desired variable. Here, it’s simply named env. This tells simpy to create an environment object named env that will manage the simulation time and move the simulation through each subsequent time step.
Once you have your environment established, you’ll pass in all of the variables that will act as your parameters. These are the things you can vary to see how the system will react to changes. For this security checkpoint system, you’re using the following parameters:
env: the environment object to schedule and process eventsnum_booths: the number of ID check boothscheck_time:the length of time it takes to check a passenger’s IDpassenger_arrival: the rate at which passengers arrive at the queue
Then, it’s time to run the simulation! You can do this by calling env.run() and specifying how long you want the simulation to run for. The simulation runs in minutes, so this sample code will run the simulation for 10 real-time minutes.
Note: Don’t worry! You won’t have to wait 10 actual minutes for the simulation to finish. Because simulation gives you a virtual look at a real-time process, those 10 minutes will pass in mere seconds on the computer.
To recap, here are the three steps to running a simulation in Python:
- Establish the environment.
- Pass in the parameters.
- Run the simulation.
But there’s a lot more going on underneath the hood! You’ll need to understand how to choose those parameters, and you’ll have to define all the functions that will be called when the simulation is run.
Let’s get started!
How to Get Started With simpy
There are a few to-dos you should check off your list before creating simulations in Python. The first thing you need to do is make sure you have a solid understanding of Python basics. In particular, you’ll need to have a good grasp of classes and generators.
Note: If you need to freshen up on these topics, then check out Intro to Object-Oriented Programming (OOP) in Python and Introduction to Python Generators. These are crucial pieces of the simulation process, so you’ll need to understand them before moving forward.
The next thing you’ll want to do is install the required package. The main framework you’ll be using is simpy. This is the core package that will create, manage, and run your simulation. You can install it with pip:
$ python3 -m pip install simpy
You’ll also need a few built-in Python modules. You’ll use the statistics module to calculate average wait times and the random module to generate random numbers. These come as part of the Python standard library, so you don’t need to install anything new.
Finally, you’ll need to choose how you want to run your simulation. In general, you can choose one of two options:
- Run it interactively: Use a Jupyter Notebook, where each code block will contain its own class or function definition. The output will be displayed at the bottom of the notebook.
- Run it in the shell: Save your simulation as a
.pyfile and tell Python to run it in your terminal. The output will be printed directly to the console.
Choose whichever method you’re most comfortable with! The outcome should be the same.
Throughout this tutorial, you’ll see references to a standalone file named simulate.py. As you move through this tutorial, the code blocks will reference simulate.py to help you keep track of how all the pieces fit together. For your reference, you can access the full code for simulate.py at the link below:
Download Code: Click here to download the code you’ll use to learn about SimPy in this tutorial.
Feel free to save the file simulate.py and follow along in your favorite editor!
How to Simulate With the simpy Package
The first step to running a simulation in simpy is to choose a process to model. Simulation is all about creating a virtual environment to reflect a real-world system. In that same spirit, you’ll “simulate” a situation for your simulation!
Imagine you’ve been hired to help the manager for a small, local movie theater. The theater has been receiving poor reviews due to their long wait times. The manager, who is just as concerned about cost as he is about customer satisfaction, can only afford to keep so many employees on staff.
The manager is particularly worried about what chaos can unfold once those blockbusters start coming out: lines wrapping around the theater, employees stretched to their limit, angry moviegoers missing the opening scenes… This is definitely a situation to avoid!
After checking the reviews, the manager was able to determine that a given moviegoer to their theater is willing to spend at most 10 minutes from the time they arrive until the time they put their butt in a seat. In other words, the average wait time for a night at the theater needs to be 10 minutes or less. The manager has asked for your help to figure out a solution to getting customer wait times under this 10 minute requirement.
Brainstorming a Simulation Algorithm
Before you write out a single line of code, it’s important that you first figure out how your process would run in real life. This is to ensure that, when you pass it along to the machine, the process is an accurate reflection of what customers will really experience. Here’s how you might think through the steps a moviegoer might take to write out your algorithm:
- Arrive at the theater, get in line, and wait to purchase a ticket.
- Buy a ticket from the box office.
- Wait in line to have the ticket checked.
- Get the ticket checked by an usher.
- Choose whether or not to get in line for the concession stand:
- If they get in line, then they purchase food.
- If they don’t get in line, then they skip to the last step.
- Go find their seat.
This is a step-by-step iteration for a moviegoer who purchases their ticket at the theater box office. You can already see which parts of this process can be controlled. You can affect how long a customer is waiting by having more cashiers available at the box office.
There are also parts of the process that can’t be controlled, like the very first step. You can’t control how many customers will arrive, or how quickly they’ll do so. You can make a guess, but you can’t simply choose a number, because that would be a poor reflection of reality. For this parameter, the best thing you can do is use available data to determine an appropriate arrival time.
Note: Using historical data ensures that the solution you find will accurately reflect what you can expect to see in real life.
With these things in mind, it’s time to build your simulation!
Setting Up the Environment
Before you start building your simulation, you need to make sure that your development environment is properly configured. The very first thing you’ll want to do is import the necessary packages. You can do this by declaring import statements at the top of your file:
import simpy
import random
import statistics
These are the main libraries you’ll use to build a script for the theater manager. Remember, the goal is to find the optimal number of employees that gives an average wait time of less than 10 minutes. To do this, you’ll need to collect the length of time that it takes for each moviegoer to make it to their seats. The next step is to declare a list to hold these times:
wait_times = []
This list will contain the total amount of time each moviegoer spends moving through the theater, from arrival to sitting in their seat. You declare this list at the very top of the file so that you can use it inside any function you define later on.
Creating the Environment: Class Definition
The first part of the simulation you’ll want to build is the blueprint for the system. This is going to be the overall environment inside which things happen, and people or objects move from one place to another. Remember, an environment can be one of many different systems, like a bank, a car wash, or a security checkpoint. In this case, the environment is a movie theater, so that will be the name of your class:
class Theater(object):
    def __init__(self):
        # More to come!
Now it’s time to think through the parts of a movie theater. Of course, there’s the theater itself, which is what you’ve called your environment. Later, you’ll explicitly declare the theater as an actual environment using one of the simpy functions. For now, call it env for short and add it to the class definition:
class Theater(object):
    def __init__(self, env):
        self.env = env
Alright, what else might there be in a theater? You can figure this out by thinking through the simulation algorithm you planned out earlier. When a moviegoer arrives, they’ll need to get in line at the box office, where a cashier will be waiting to help them out. Now you’ve discovered two things about the theater environment:
- There are cashiers.
- Moviegoers can purchase tickets from them.
Cashiers are a resource that the theater makes available to its customers, and they help moviegoers through the process of purchasing a ticket. Right now, you don’t know how many cashiers are available in the simulated theater. In fact, that’s the very problem you’re trying to solve. How do wait times change, depending on the number of cashiers working on a given night?
You can go ahead and call this unknown variable num_cashiers. The exact value this variable will take can be sorted out later. For now, just know that it’s an indispensable part of the theater environment. Add it to the class definition:
class Theater(object):
    def __init__(self, env, num_cashiers):
        self.env = env
        self.cashier = simpy.Resource(env, num_cashiers)
Here, you add the new parameter num_cashiers to your __init__() definition. Then, you create a resource self.cashier and use simpy.Resource() to declare how many can be in this environment at any given time.
Note: In simpy, resources are the parts of the environment (env) that are limited in number. Using one of them takes time, and only so many (num_cashiers) are available to be used at once.
There’s one more step that you’ll need to take. A cashier isn’t going to purchase a ticket for themselves, right? They’re going to help the moviegoer! Again, you know that this process of purchasing a ticket is going to take a certain amount of time. But just how much time?
Say you’ve asked the manager for historical data on the theater, like employee performance reviews or ticket purchase receipts. Based on this data, you’ve learned that it takes, on average, between 1 and 2 minutes to issue a ticket at the box office. How do you get simpy to mimic this behavior? It only takes one line of code:
yield self.env.timeout(random.randint(1, 3))
env.timeout() tells simpy to trigger an event after a certain amount of time has passed. In this case, the event is that a ticket was purchased.
The time this takes could be one minute, two minutes, or three minutes. You want each moviegoer to spend a different amount of time at the cashier. To do this, you use random.randint() to choose a random number between the given low and high values. Then, for each moviegoer, the simulation will wait for the chosen amount of time.
Let’s wrap this up in a tidy function and add it to the class definition:
class Theater(object):
    def __init__(self, env, num_cashiers):
        self.env = env
        self.cashier = simpy.Resource(env, num_cashiers)

    def purchase_ticket(self, moviegoer):
        yield self.env.timeout(random.randint(1, 3))
The one initiating the event in purchase_ticket() is the moviegoer, so they must be passed as a required argument.
Note: You’ll see how the moviegoer actually purchases the ticket in the next section!
That’s it! You’ve selected a time-bound resource, defined its related process, and codified this in your class definition. For this tutorial, there are two more resources you’ll need to declare:
- Ushers to check tickets
- Servers to sell food
After checking the data the manager sent over, you determine that servers take anywhere between 1 and 5 minutes to complete an order. In addition, ushers are remarkably fast at checking tickets, with an average speed of 3 seconds!
You’ll need to add these resources to your class and define the corresponding functions check_ticket() and sell_food(). Can you figure out what the code should look like? When you’ve got an idea, you can expand the code block below to check your understanding:
class Theater(object):
    def __init__(self, env, num_cashiers, num_servers, num_ushers):
        self.env = env
        self.cashier = simpy.Resource(env, num_cashiers)
        self.server = simpy.Resource(env, num_servers)
        self.usher = simpy.Resource(env, num_ushers)

    def purchase_ticket(self, moviegoer):
        yield self.env.timeout(random.randint(1, 3))

    def check_ticket(self, moviegoer):
        yield self.env.timeout(3 / 60)

    def sell_food(self, moviegoer):
        yield self.env.timeout(random.randint(1, 5))
Take a close look at the new resources and functions. Notice how they follow the same format as described above. sell_food() uses random.randint() to generate a random number between 1 and 5 minutes, representing the time it would take a moviegoer to place an order and receive their food.
The time delay for check_ticket() is a bit different because the ushers only take 3 seconds. Since simpy works in minutes, this value needs to be passed as a fraction of a minute, or 3 / 60.
Moving Through the Environment: Function Definition
Alright, you’ve set up the environment by defining a class. You have resources and processes. Now you need a moviegoer to use them. When a moviegoer arrives at the theater, they’ll request a resource, wait for its process to complete, and then leave. You’ll create a function, called go_to_movies(), to keep track of this:
def go_to_movies(env, moviegoer, theater):
    # Moviegoer arrives at the theater
    arrival_time = env.now
There are three arguments passed to this function:
env: Themoviegoerwill be controlled by the environment, so you’ll pass this as the first argument.moviegoer: This variable tracks each person as they move through the system.theater: This parameter gives you access to the processes you defined in the overall class definition.
You also declare a variable arrival_time to hold the time at which each moviegoer arrives at the theater. You can get this time using the simpy call to env.now.
You’ll want each of the processes from your theater to have corresponding requests in go_to_movies(). For example, the first process in the class is purchase_ticket(), which uses a cashier resource. The moviegoer will need to make a request to the cashier resource to help them through the purchase_ticket() process. Here’s a table to summarize this:
Process in theater |
Request in go_to_movies() |
|---|---|
purchase_ticket() |
Request a cashier |
check_ticket() |
Request an usher |
sell_food() |
Request a server |
The cashier is a shared resource, which means that many moviegoers will use the same cashier. However, a cashier can only help one moviegoer at a time, so you’ll need to include some waiting behavior in your code. Here’s how that works:
def go_to_movies(env, moviegoer, theater):
    # Moviegoer arrives at the theater
    arrival_time = env.now

    with theater.cashier.request() as request:
        yield request
        yield env.process(theater.purchase_ticket(moviegoer))
Here’s how this code works:
theater.cashier.request():moviegoergenerates a request to use acashier.yield request:moviegoerwaits for acashierto become available if all are currently in use. To learn more about theyieldkeyword, check out How to Use Generators and yield in Python.yield env.process():moviegoeruses an availablecashierto complete the given process. In this case, that’s to purchase a ticket with a call totheater.purchase_ticket().
After a resource is used, it must be freed up for the next agent to use. You could do this explicitly with release(), but in the code above, you use a with statement instead. This shortcut tells the simulation to automatically release the resource once the process is complete. In other words, once the ticket is bought, the moviegoer will leave, and the cashier will automatically be ready to take the next customer.
When a cashier is freed up, the moviegoer will spend some time buying their ticket. env.process() tells the simulation to go to the Theater instance and run the purchase_ticket() process on this moviegoer. The moviegoer will repeat this request, use, release cycle to have their ticket checked:
def go_to_movies(env, moviegoer, theater):
    # Moviegoer arrives at the theater
    arrival_time = env.now

    with theater.cashier.request() as request:
        yield request
        yield env.process(theater.purchase_ticket(moviegoer))

    with theater.usher.request() as request:
        yield request
        yield env.process(theater.check_ticket(moviegoer))
Here, the structure for the code is the same.
Then, there’s the optional step of buying food from the concession stand. You can’t know whether a moviegoer will want to purchase snacks and drinks. One way to deal with this uncertainty is to introduce a bit of randomness to the function.
Each moviegoer either will or will not want to buy food, which you can store as the Boolean values True or False. Then, use the random module to have the simulation randomly decide whether or not this particular moviegoer is going to proceed to the concession stand:
def go_to_movies(env, moviegoer, theater):
    # Moviegoer arrives at the theater
    arrival_time = env.now

    with theater.cashier.request() as request:
        yield request
        yield env.process(theater.purchase_ticket(moviegoer))

    with theater.usher.request() as request:
        yield request
        yield env.process(theater.check_ticket(moviegoer))

    if random.choice([True, False]):
        with theater.server.request() as request:
            yield request
            yield env.process(theater.sell_food(moviegoer))
This conditional statement will return one of two outcomes:
True: Themoviegoerwill request a server and order food.False: Themoviegoerwill instead go to find their seats without purchasing any snacks.
Now, remember the goal of this simulation is to determine the number of cashiers, ushers, and servers that should be on staff to keep wait times under 10 minutes. To do this, you’ll need to know how long it took any given moviegoer to make it to their seats. You use env.now at the beginning of the function to track the arrival_time, and again at the end when each moviegoer is finished with all processes and heading into the theater:
def go_to_movies(env, moviegoer, theater):
    # Moviegoer arrives at the theater
    arrival_time = env.now

    with theater.cashier.request() as request:
        yield request
        yield env.process(theater.purchase_ticket(moviegoer))

    with theater.usher.request() as request:
        yield request
        yield env.process(theater.check_ticket(moviegoer))

    if random.choice([True, False]):
        with theater.server.request() as request:
            yield request
            yield env.process(theater.sell_food(moviegoer))

    # Moviegoer heads into the theater
    wait_times.append(env.now - arrival_time)
You use env.now to get the time at which the moviegoer has finished all processes and made it to their seats. You subtract the moviegoer’s arrival_time from this departure time and append the resulting time difference to your waiting list, wait_times.
Note: You could store the departure time in a separate variable like departure_time, but this would make your code very repetitive, which violates the D.R.Y. principle.
This moviegoer is ready to watch some previews!
Making Things Happen: Function Definition
Now you’ll need to define a function to run the simulation. run_theater() will be responsible for creating an instance of a theater and generating moviegoers until the simulation stops. The first thing this function should do is create an instance of a theater:
def run_theater(env, num_cashiers, num_servers, num_ushers):
    theater = Theater(env, num_cashiers, num_servers, num_ushers)
Since this is the main process, you’ll need to pass all of the unknowns you’ve declared so far:
num_cashiersnum_serversnum_ushers
These are all variables that the simulation needs to create and control the environment, so it’s absolutely vital to pass them all. Then, you define a variable theater and tell the simulation to set up the theater with a certain number of cashiers, servers, and ushers.
You also might want to start your simulation with a few moviegoers waiting at the theater. There will probably be a few people ready to go as soon as the doors open! The manager says to expect around 3 moviegoers in line ready to buy tickets as soon as the box office opens. You can tell the simulation to go ahead and move through this initial group like so:
def run_theater(env, num_cashiers, num_servers, num_ushers):
    theater = Theater(env, num_cashiers, num_servers, num_ushers)

    for moviegoer in range(3):
        env.process(go_to_movies(env, moviegoer, theater))
You use range() to populate the theater with 3 moviegoers. Then, you use env.process() to tell the simulation to prepare to move them through the theater. The rest of the moviegoers will make it to the theater in their own time. So, the function should keep sending new customers into the theater as long as the simulation is running.
You don’t know how long it will take new moviegoers to make it to the theater, so you decide to look at past data. Using timestamped receipts from the box office, you learn that moviegoers tend to arrive at the theater, on average, every 12 seconds. Now all you have to do is tell the function to wait this long before generating a new person:
def run_theater(env, num_cashiers, num_servers, num_ushers):
    theater = Theater(env, num_cashiers, num_servers, num_ushers)

    for moviegoer in range(3):
        env.process(go_to_movies(env, moviegoer, theater))

    while True:
        yield env.timeout(0.20)  # Wait a bit before generating a new person

        # Almost done!...
Note that you use the decimal number 0.20 to represent 12 seconds. To get this number, you simply divide 12 seconds by 60 seconds, which is the number of seconds in a minute.
After waiting, the function should increment moviegoer by 1 and generate the next person. The generator function is the same one you used to initialize the first 3 moviegoers:
def run_theater(env, num_cashiers, num_servers, num_ushers):
    theater = Theater(env, num_cashiers, num_servers, num_ushers)

    for moviegoer in range(3):
        env.process(go_to_movies(env, moviegoer, theater))

    while True:
        yield env.timeout(0.20)  # Wait a bit before generating a new person

        moviegoer += 1
        env.process(go_to_movies(env, moviegoer, theater))
That’s it! When you call this function, the simulation will generate 3 moviegoers to start and begin moving them through the theater with go_to_movies(). After that, new moviegoers will arrive at the theater with an interval of 12 seconds and move through the theater in their own time.
Calculating the Wait Time: Function Definition
At this point, you should have a list wait_times that contains the total amount of time it took each moviegoer to make it to their seat. Now you’ll want to define a function to help calculate the average time a moviegoer spends from the time they arrive to the time they finish checking their ticket. get_average_wait_time() does just this:
def get_average_wait_time(wait_times):
    average_wait = statistics.mean(wait_times)
This function takes your wait_times list as an argument and uses statistics.mean() to calculate the average wait time.
Since you’re creating a script that will be used by the movie theater manager, you’ll want to make sure that the output can be read easily by the user. You can add a function called calculate_wait_time() to do this:
def calculate_wait_time(arrival_times, departure_times):
    average_wait = statistics.mean(wait_times)
    # Pretty print the results
    minutes, frac_minutes = divmod(average_wait, 1)
    seconds = frac_minutes * 60
    return round(minutes), round(seconds)
The last part of the function uses divmod() to return the results in minutes and seconds, so the manager can easily understand the program’s output.
Choosing Parameters: User Input Function Definition
As you’ve built these functions, you’ve run into a few variables that have not been clearly defined:
num_cashiersnum_serversnum_ushers
These variables are the parameters that you can change to see how the simulation changes. If a blockbuster movie has customers lining up around the block, how many cashiers should be working? What if people are flying through the box office but getting stuck at concessions? What value of num_servers will help ease the flow?
Note: That’s the beauty of simulation. It allows you to try these things out so that you can determine the best possible decision in real life.
Whoever is using your simulation needs to be able to change the values of these parameters to try out different scenarios. To this end, you’ll create a helper function to get these values from the user:
def get_user_input():
    num_cashiers = input("Input # of cashiers working: ")
    num_servers = input("Input # of servers working: ")
    num_ushers = input("Input # of ushers working: ")
    params = [num_cashiers, num_servers, num_ushers]
    if all(str(i).isdigit() for i in params):  # Check input is valid
        params = [int(x) for x in params]
    else:
        print(
            "Could not parse input. The simulation will use default values:",
            "\n1 cashier, 1 server, 1 usher.",
        )
        params = [1, 1, 1]
    return params
This function simply calls Python’s input() function to retrieve data from the user. Because user input runs the risk of being messy, you can include an if/else clause to catch anything invalid. If the user inputs bad data, then the simulation will run with default values.
Finalizing the Setup: Main Function Definition
The last function you’ll want to create is main(). This will ensure your script runs in the proper order when you execute it on the command line. You can read more about main() in Defining Main Functions in Python. Here’s what your main() should look like:
def main():
  # Setup
  random.seed(42)
  num_cashiers, num_servers, num_ushers = get_user_input()

  # Run the simulation
  env = simpy.Environment()
  env.process(run_theater(env, num_cashiers, num_servers, num_ushers))
  env.run(until=90)

  # View the results
  mins, secs = get_average_wait_time(wait_times)
  print(
      "Running simulation...",
      f"\nThe average wait time is {mins} minutes and {secs} seconds.",
  )
Here’s how main() works:
- Set up your environment by declaring a random seed. This ensures your output will look like what you see in this tutorial.
- Query the user of your program for some input.
- Create the environment and save it as the variable
env, which will move the simulation through each time step. - Tell
simpyto run the processrun_theater(), which creates the theater environment and generates moviegoers to move through it. - Determine how long you want the simulation to run. As a default value, the simulation is set to run for 90 minutes.
- Store the output of
get_average_wait_time()in two variables,minsandsecs. - Use
print()to show the results to the user.
With this, the setup is complete!
How to Run the Simulation
With just a few more lines of code, you’ll be able to watch your simulation come to life. But first, here’s an overview of the functions and classes you’ve defined so far:
-
Theater: This class definition serves as a blueprint for the environment you want to simulate. It determines some information about that environment, like what kinds of resources are available, and what processes are associated with them. -
go_to_movies(): This function makes explicit requests to use a resource, goes through the associated process, and then releases it to the next moviegoer. -
run_theater(): This function controls the simulation. It uses theTheaterclass blueprint to create an instance of a theater, and then calls ongo_to_movies()to generate and move people through the theater. -
get_average_wait_time(): This function finds the average time it takes amoviegoerto make it through the theater. -
calculate_wait_time(): This function ensures the final output is easy for the user to read. -
get_user_input(): This function allows the user to define some parameters, like how many cashiers are available. -
main(): This function ensures that your script runs properly in the command line.
Now, you only need two more lines of code to invoke your main function:
if __name__ == '__main__':
    main()
With that, your script is ready to run! Open up your terminal, navigate to where you’ve stored simulate.py, and run the following command:
$ python simulate.py
Input # of cashiers working:
You’ll be prompted to select the parameters you want for your simulation. Here’s what the output looks like with default parameters:
$ python simulate.py
Input # of cashiers working: 1
Input # of servers working: 1
Input # of ushers working: 1
Running simulation...
The average wait time is 42 minutes and 53 seconds.
Whoa! That’s a long time to be waiting around!
When to Change Things Up
Remember, your goal is to approach the manager with a solution for how many employees he’ll need on staff to keep wait times under 10 minutes. To this end, you’ll want to play around with your parameters to see which numbers offer an optimal solution.
First, try something completely insane and max out the resources! Say there were 100 cashiers, 100 servers, and 100 ushers working in this theater. This is impossible, of course, but using insanely high numbers will quickly tell you what the system’s limit is. Try it now:
$ python simulate.py
Input # of cashiers working: 100
Input # of servers working: 100
Input # of ushers working: 100
Running simulation...
The average wait time is 3 minutes and 29 seconds.
Even if you maxed out the resources, you would only get wait times down to 3 and a half minutes. Now try and change the numbers to see if you can get wait times down to 10 minutes, like the manager requested. What solution did you come up with? You can expand the code block below to see one possible solution:
$ python simulate.py
Input # of cashiers working: 9
Input # of servers working: 6
Input # of ushers working: 1
Running simulation...
The average wait time is 9 minutes and 60 seconds.
At this point, you would present your results to the manager and make a suggestion to help improve the theater. For instance, to cut down on costs, he might want to install 10 ticket kiosks at the front of the theater instead of keeping 10 cashiers on hand each night.
Conclusion
In this tutorial, you’ve learned how to build and run a simulation in Python using the simpy framework. You’ve come to understand how systems have agents undergo processes, and how you can create virtual representations of those systems to fortify them against congestion and delay. While the type of simulation can vary, the overall execution is the same! You’ll be able to apply what you’ve learned here to a variety of different scenarios.
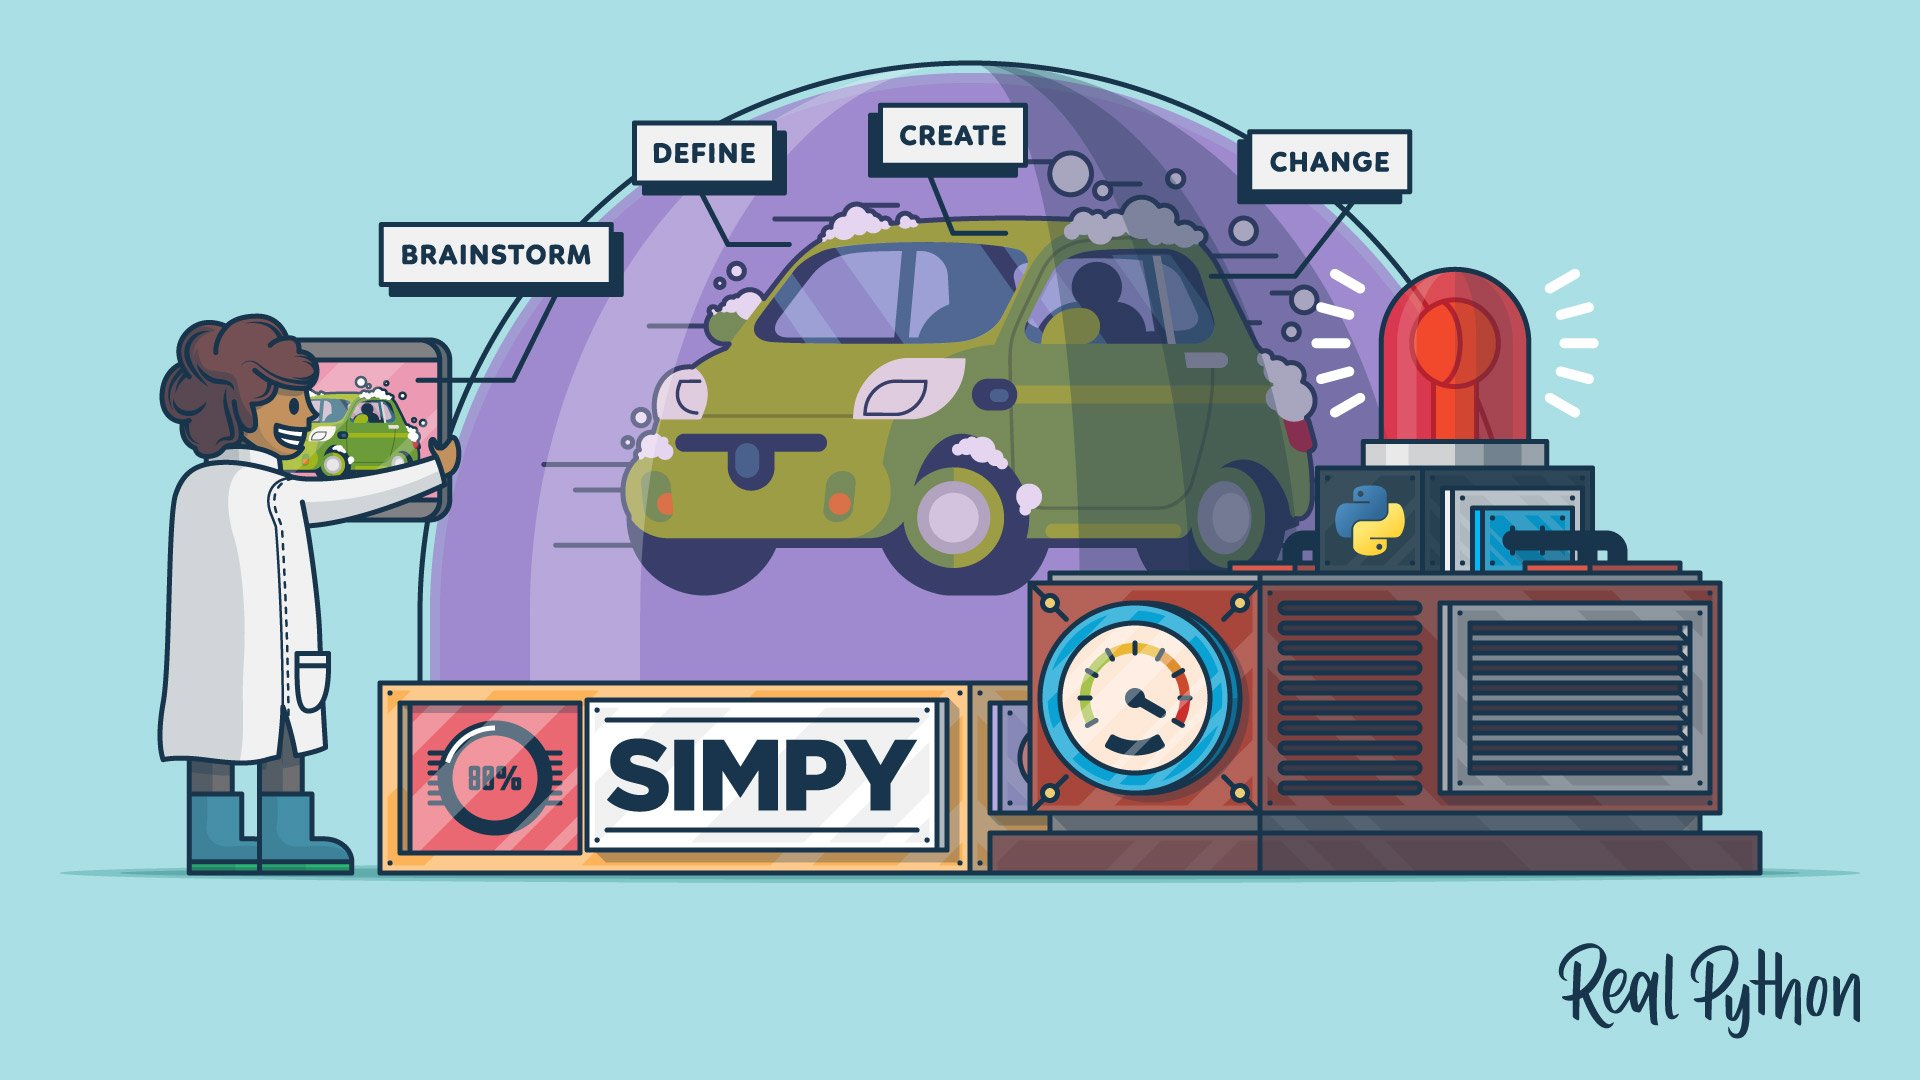
Now you can:
- Brainstorm a simulation algorithm step by step
- Create a virtual environment in Python with
simpy - Define functions that represent agents and processes
- Change parameters of your simulation to find the optimal solution
There’s so much you can do with simpy, so don’t let your exploration stop here. Take what you’ve learned and apply it to new scenarios. Your solutions could help save people valuable time and money, so dive in and see what other processes you can optimize! You can download the source code for the script you built in this tutorial by clicking on the link below:
Download Code: Click here to download the code you’ll use to learn about SimPy in this tutorial.
Watch Now This tutorial has a related video course created by the Real Python team. Watch it together with the written tutorial to deepen your understanding: Simulating Real-World Processes in Python With SimPy